Raise your hand if you hate doing dishes – even with a dishwasher! 🤚🏼 I cannot be the only one… Many times I won’t make a dish because there are multiple pans/dishes involved. No thanks. Obviously a sheet pan meal means ONE pan so I am usually all over these!
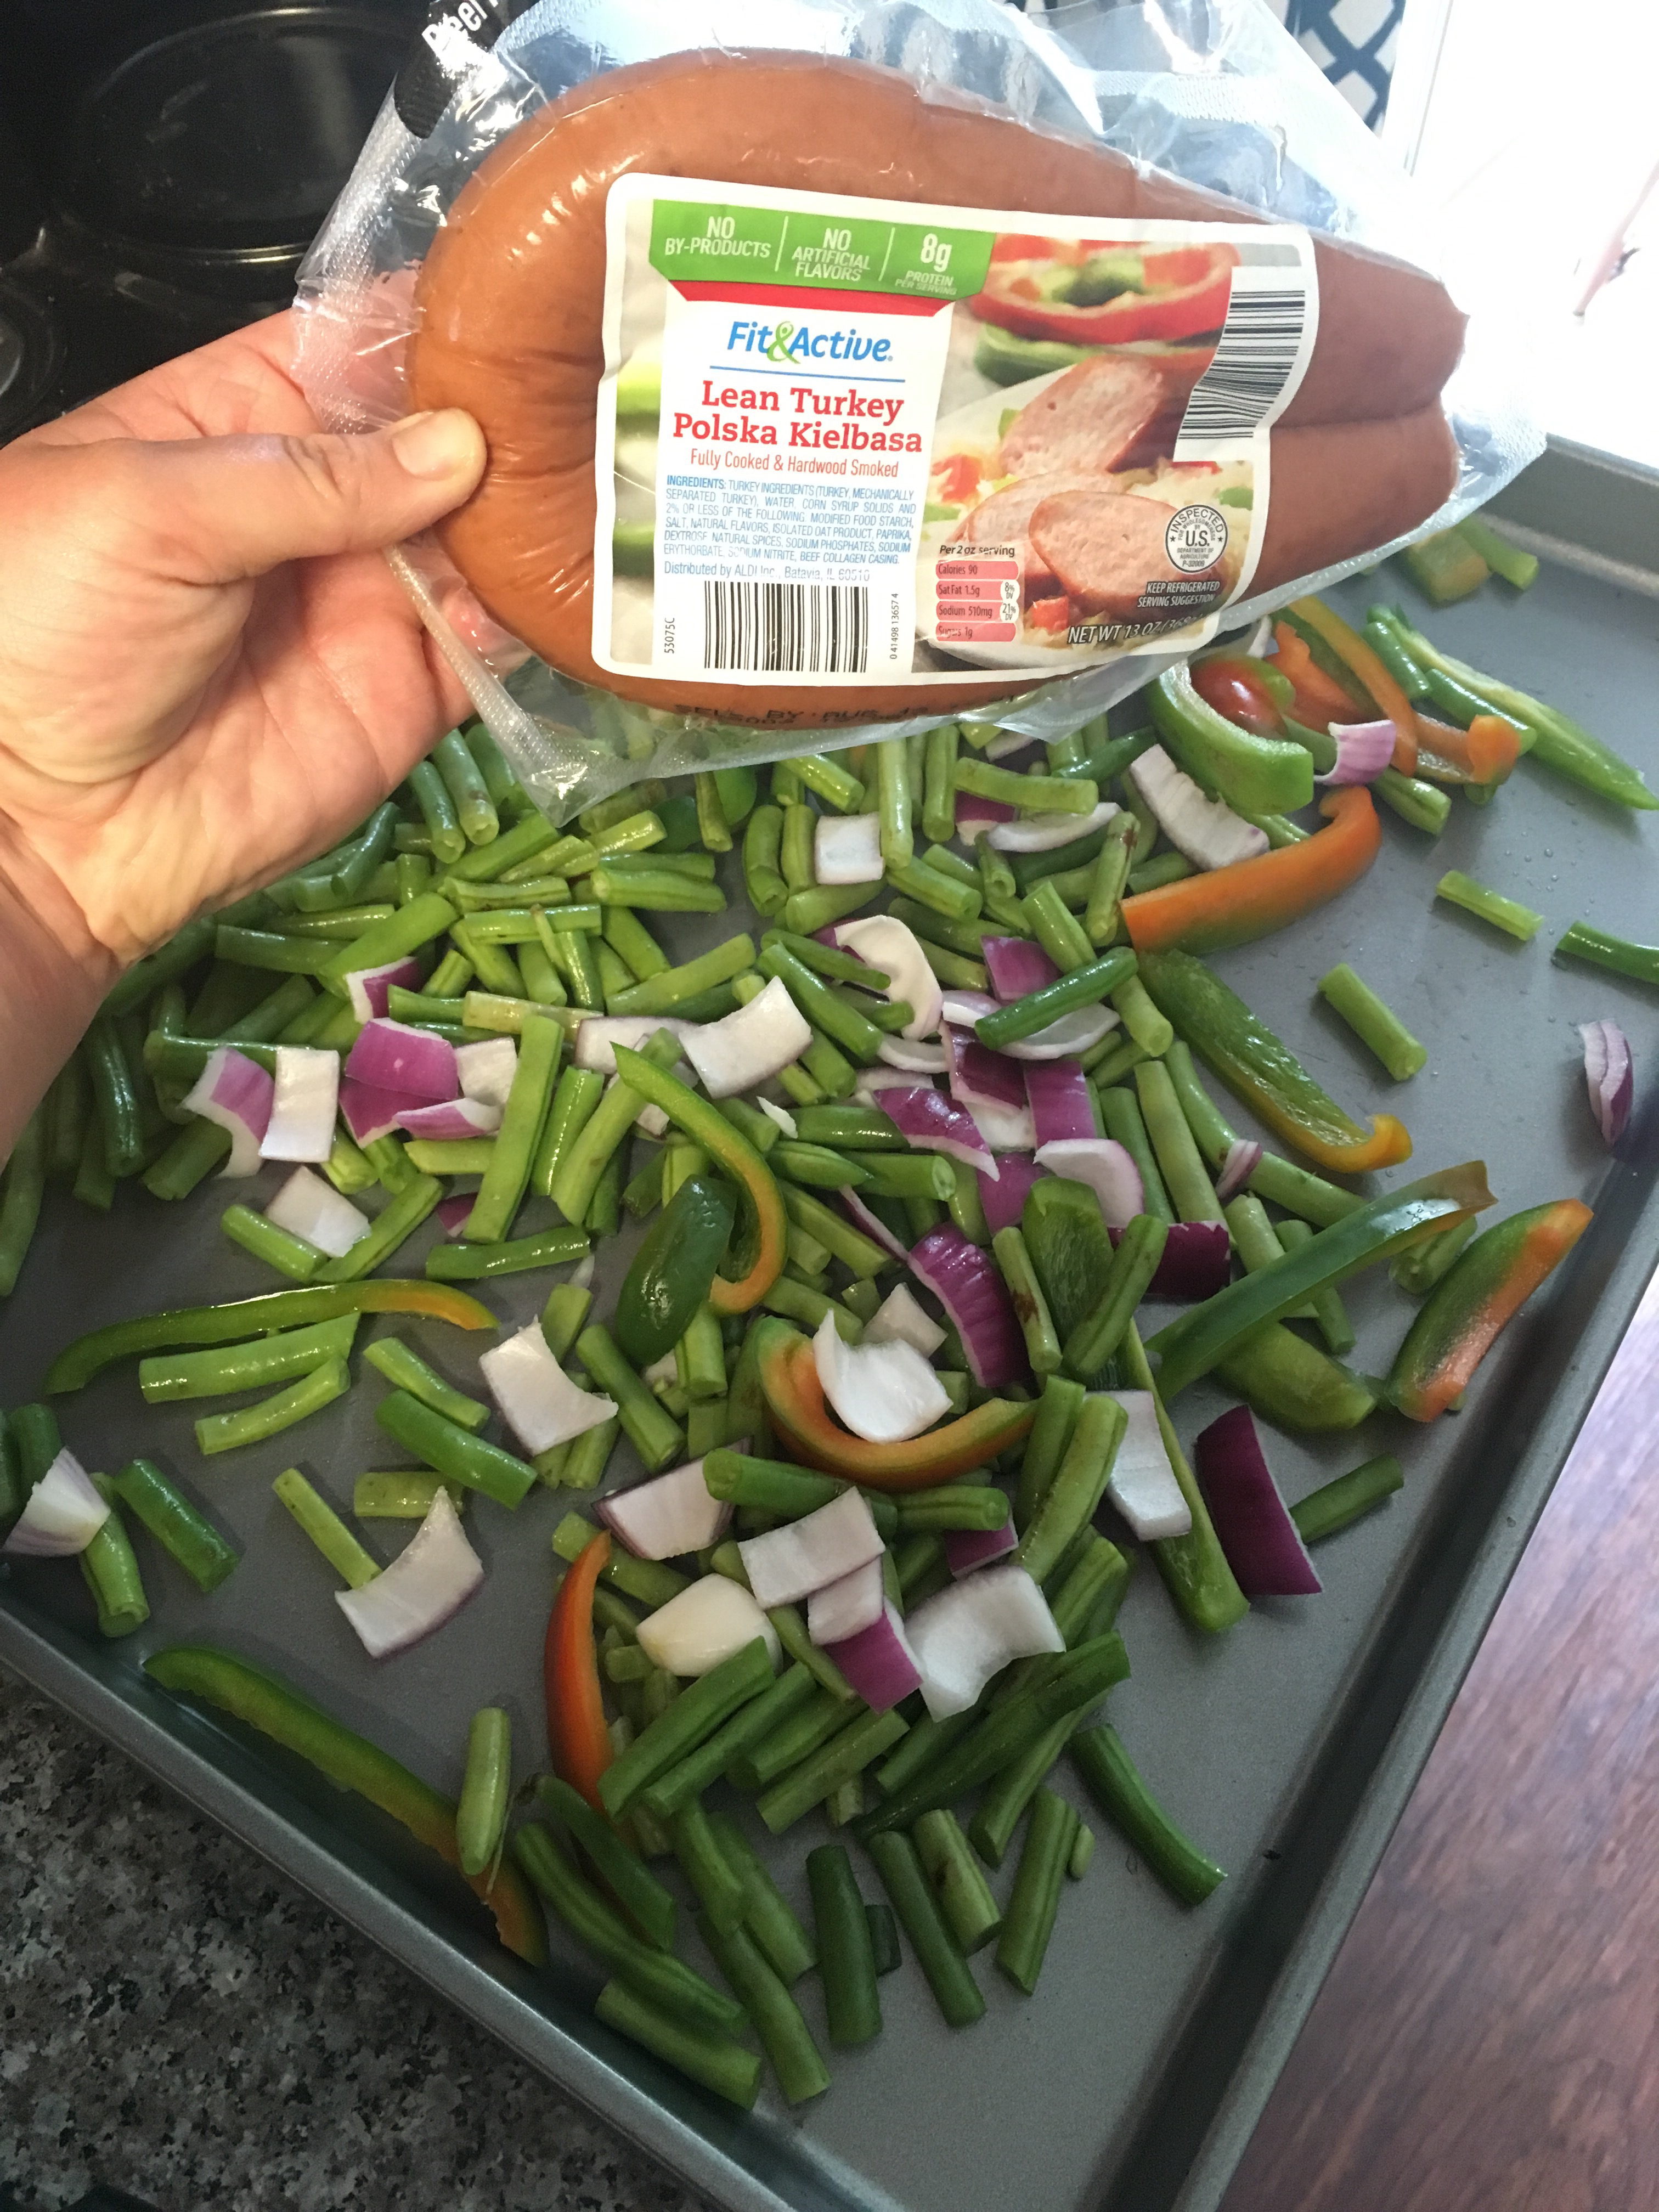
My homegirl, Vanessa, introduced me to the Aldi Fit and Active Turkey Kielbasa – yummy! Since these bad boys are already cooked, I wanted something to quickly warm them and get ’em all tasty. With a sheet pan meal, I was sure to make this happen …. and with the bonus of it being on the table and ready to injest/digest in 25 minutes!
I’m usually one to only eat homemade Kielbasa (and never turkey!), but with bathing suit season approaching, it’s time to bust out the turkey! Ok… who honestly believes that’s my reasoning?! 😂😂😂 you fool!!! Bahahah!
Sheet Pan Turkey Kielbasa and Veggies
1 package cooked sausage, cut into 1″ chunks (It doesn’t matter what kind but it does matter for timing’s sake that it is pre-cooked. If it’s raw, add time in the oven. Since I’m not at your house and can’t see the raw sausage you have, you’re on your own!)
Raw veggies, cut into bite-sized pieces (I used green beans, onions, and peppers.)
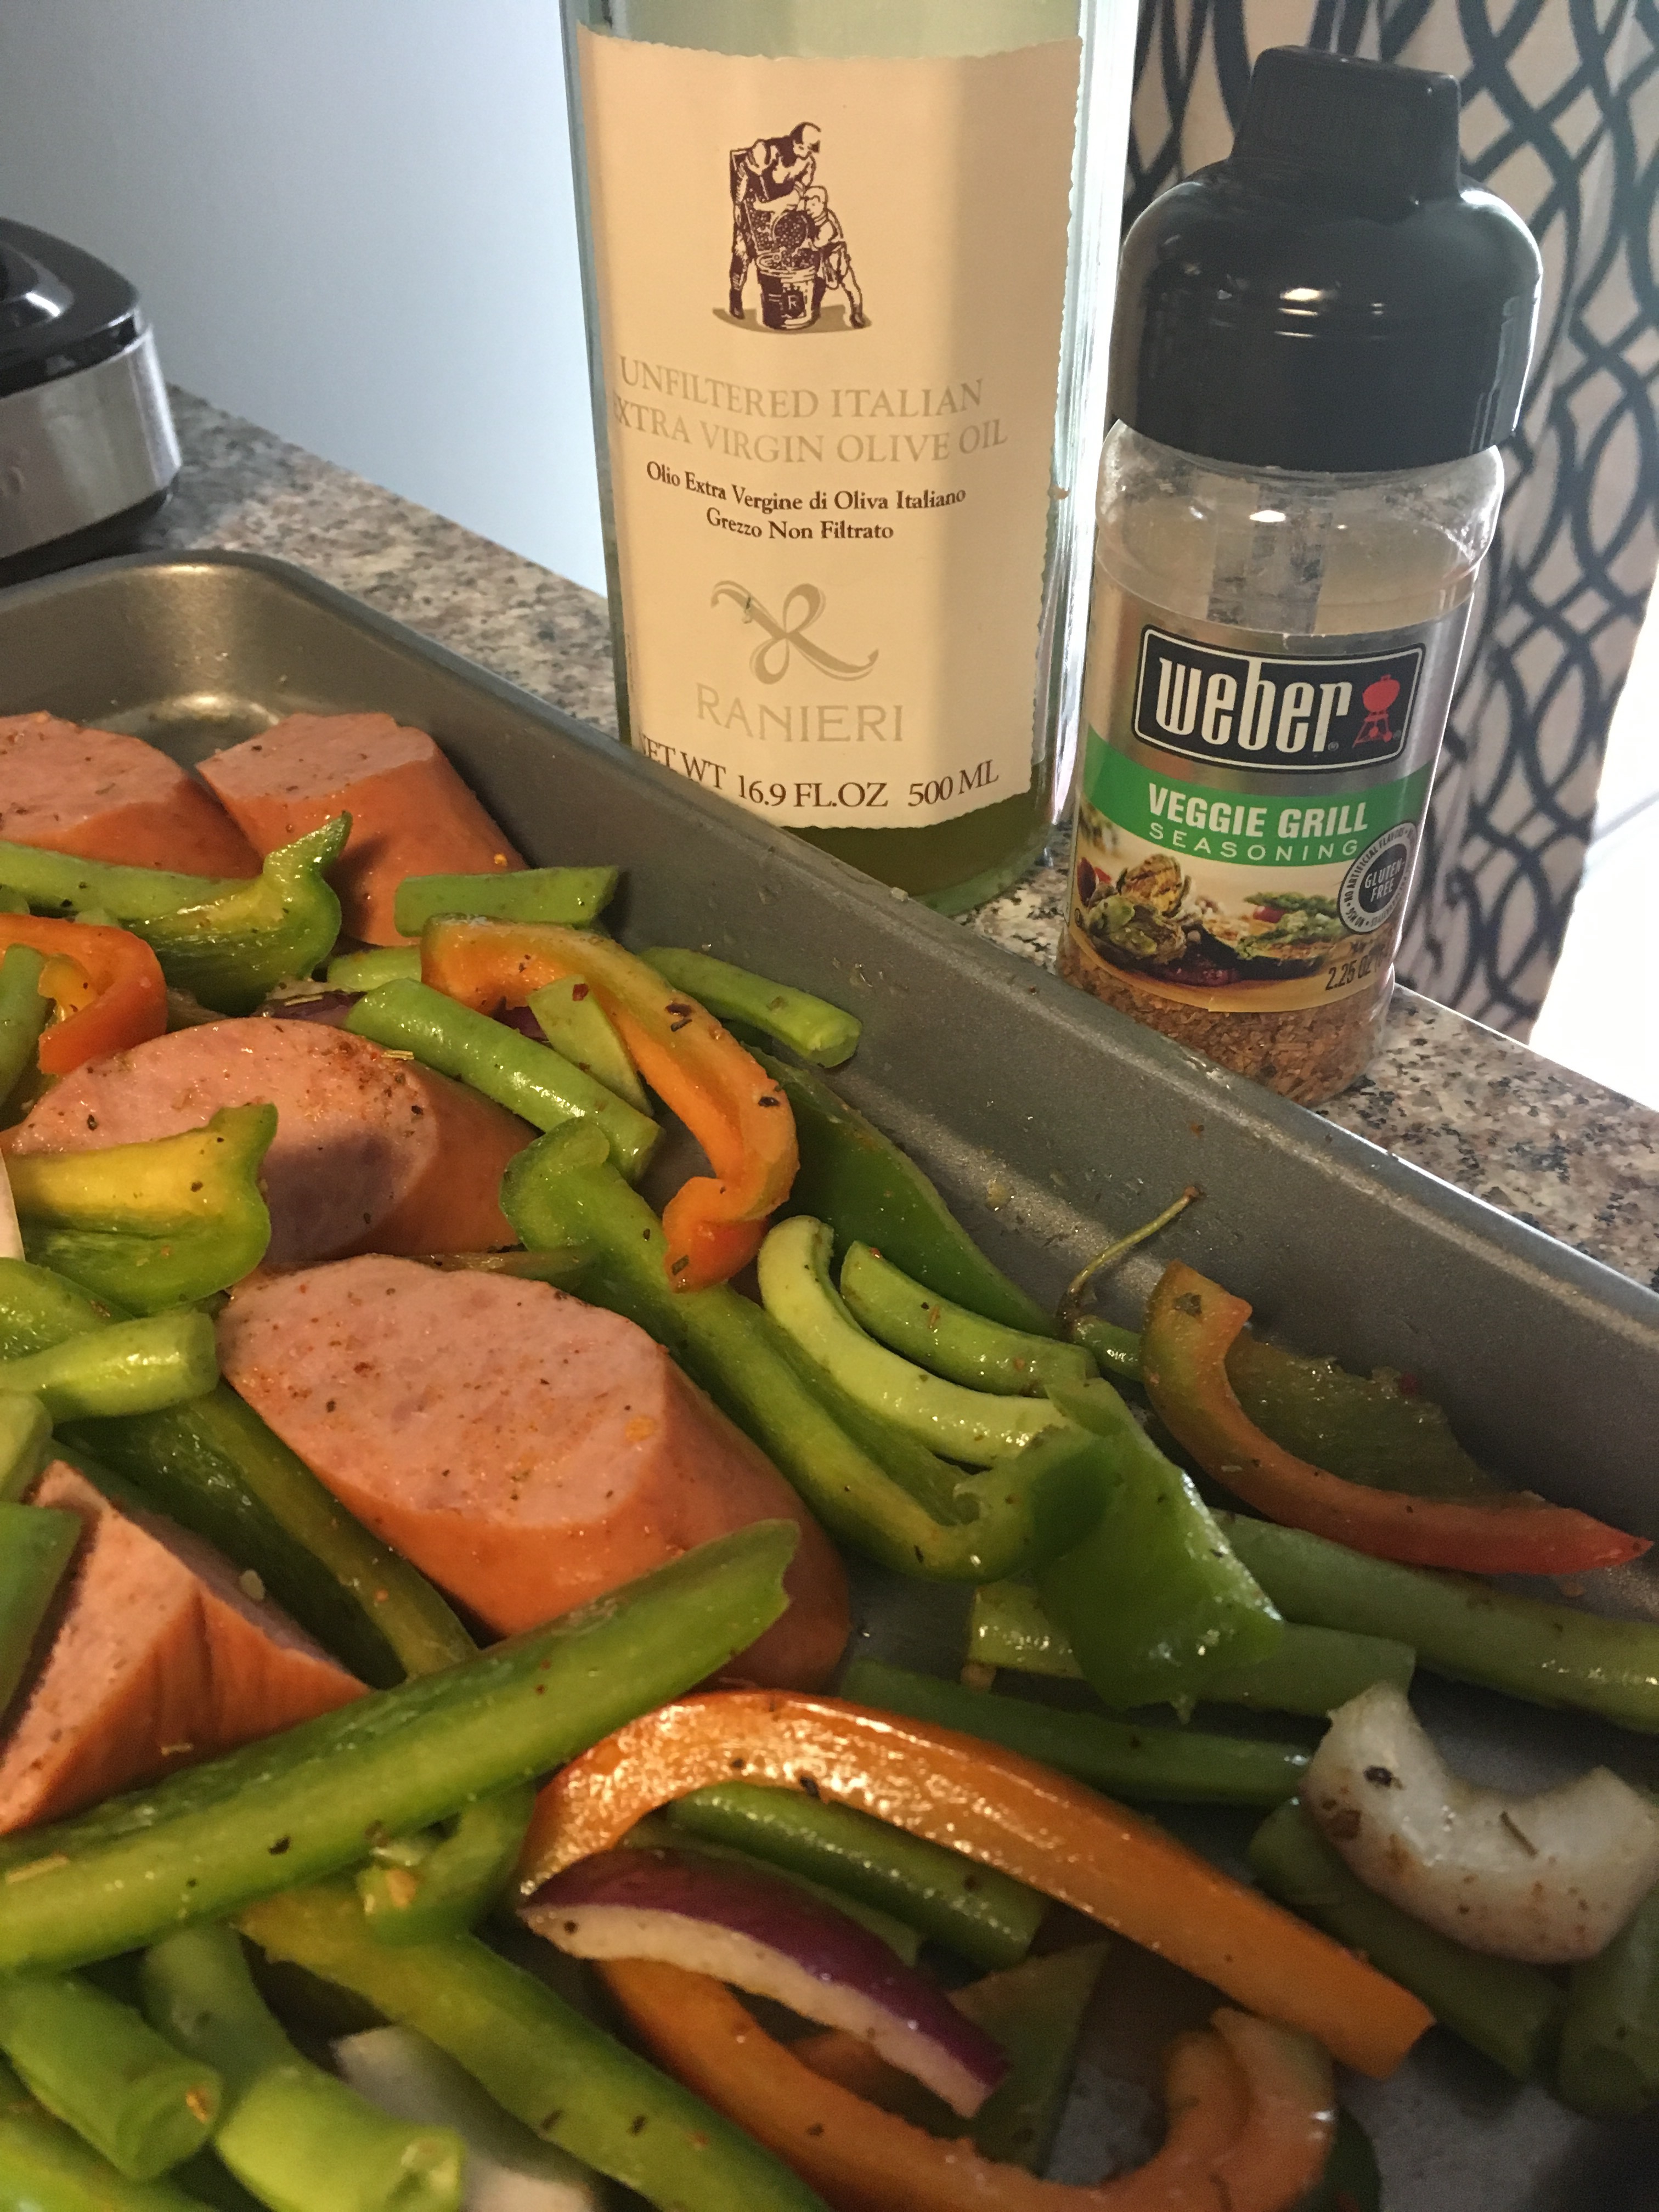
Enough olive oil to coat the veggies
Seasoning of your choosing – mine is Weber Veggie Grill Seaoning. This stuff is the darn BOMB! I use it on EVERYTHING!
Go to the store RIGHT NOW and buy this Weber Veggie Grill seasoning!!!! (Also, I’m totally annoyed that I left a stem on the green bean front and center of this picture…. it’s making my OCD flare up!)
Preheat your oven to 400.
Toss your sausage, veggies, seasoning mix, and olive oil ON the sheet pan. Do not dirty a bowl – DON’T be THAT person 🙄
Throw the pan in the oven for 15 minutes. Take it out and flip the meat and veggies. Put it back in the oven for 10 more minutes.
Check to be sure the veggies are cooked to your liking. If they are, you have yourself a quick, healthy meal with only ONE pan to wash!!! (I’m obviously not counting the plates and silverware, but you can be real stingy and eat straight off the pan with a fork – I won’t judge!)
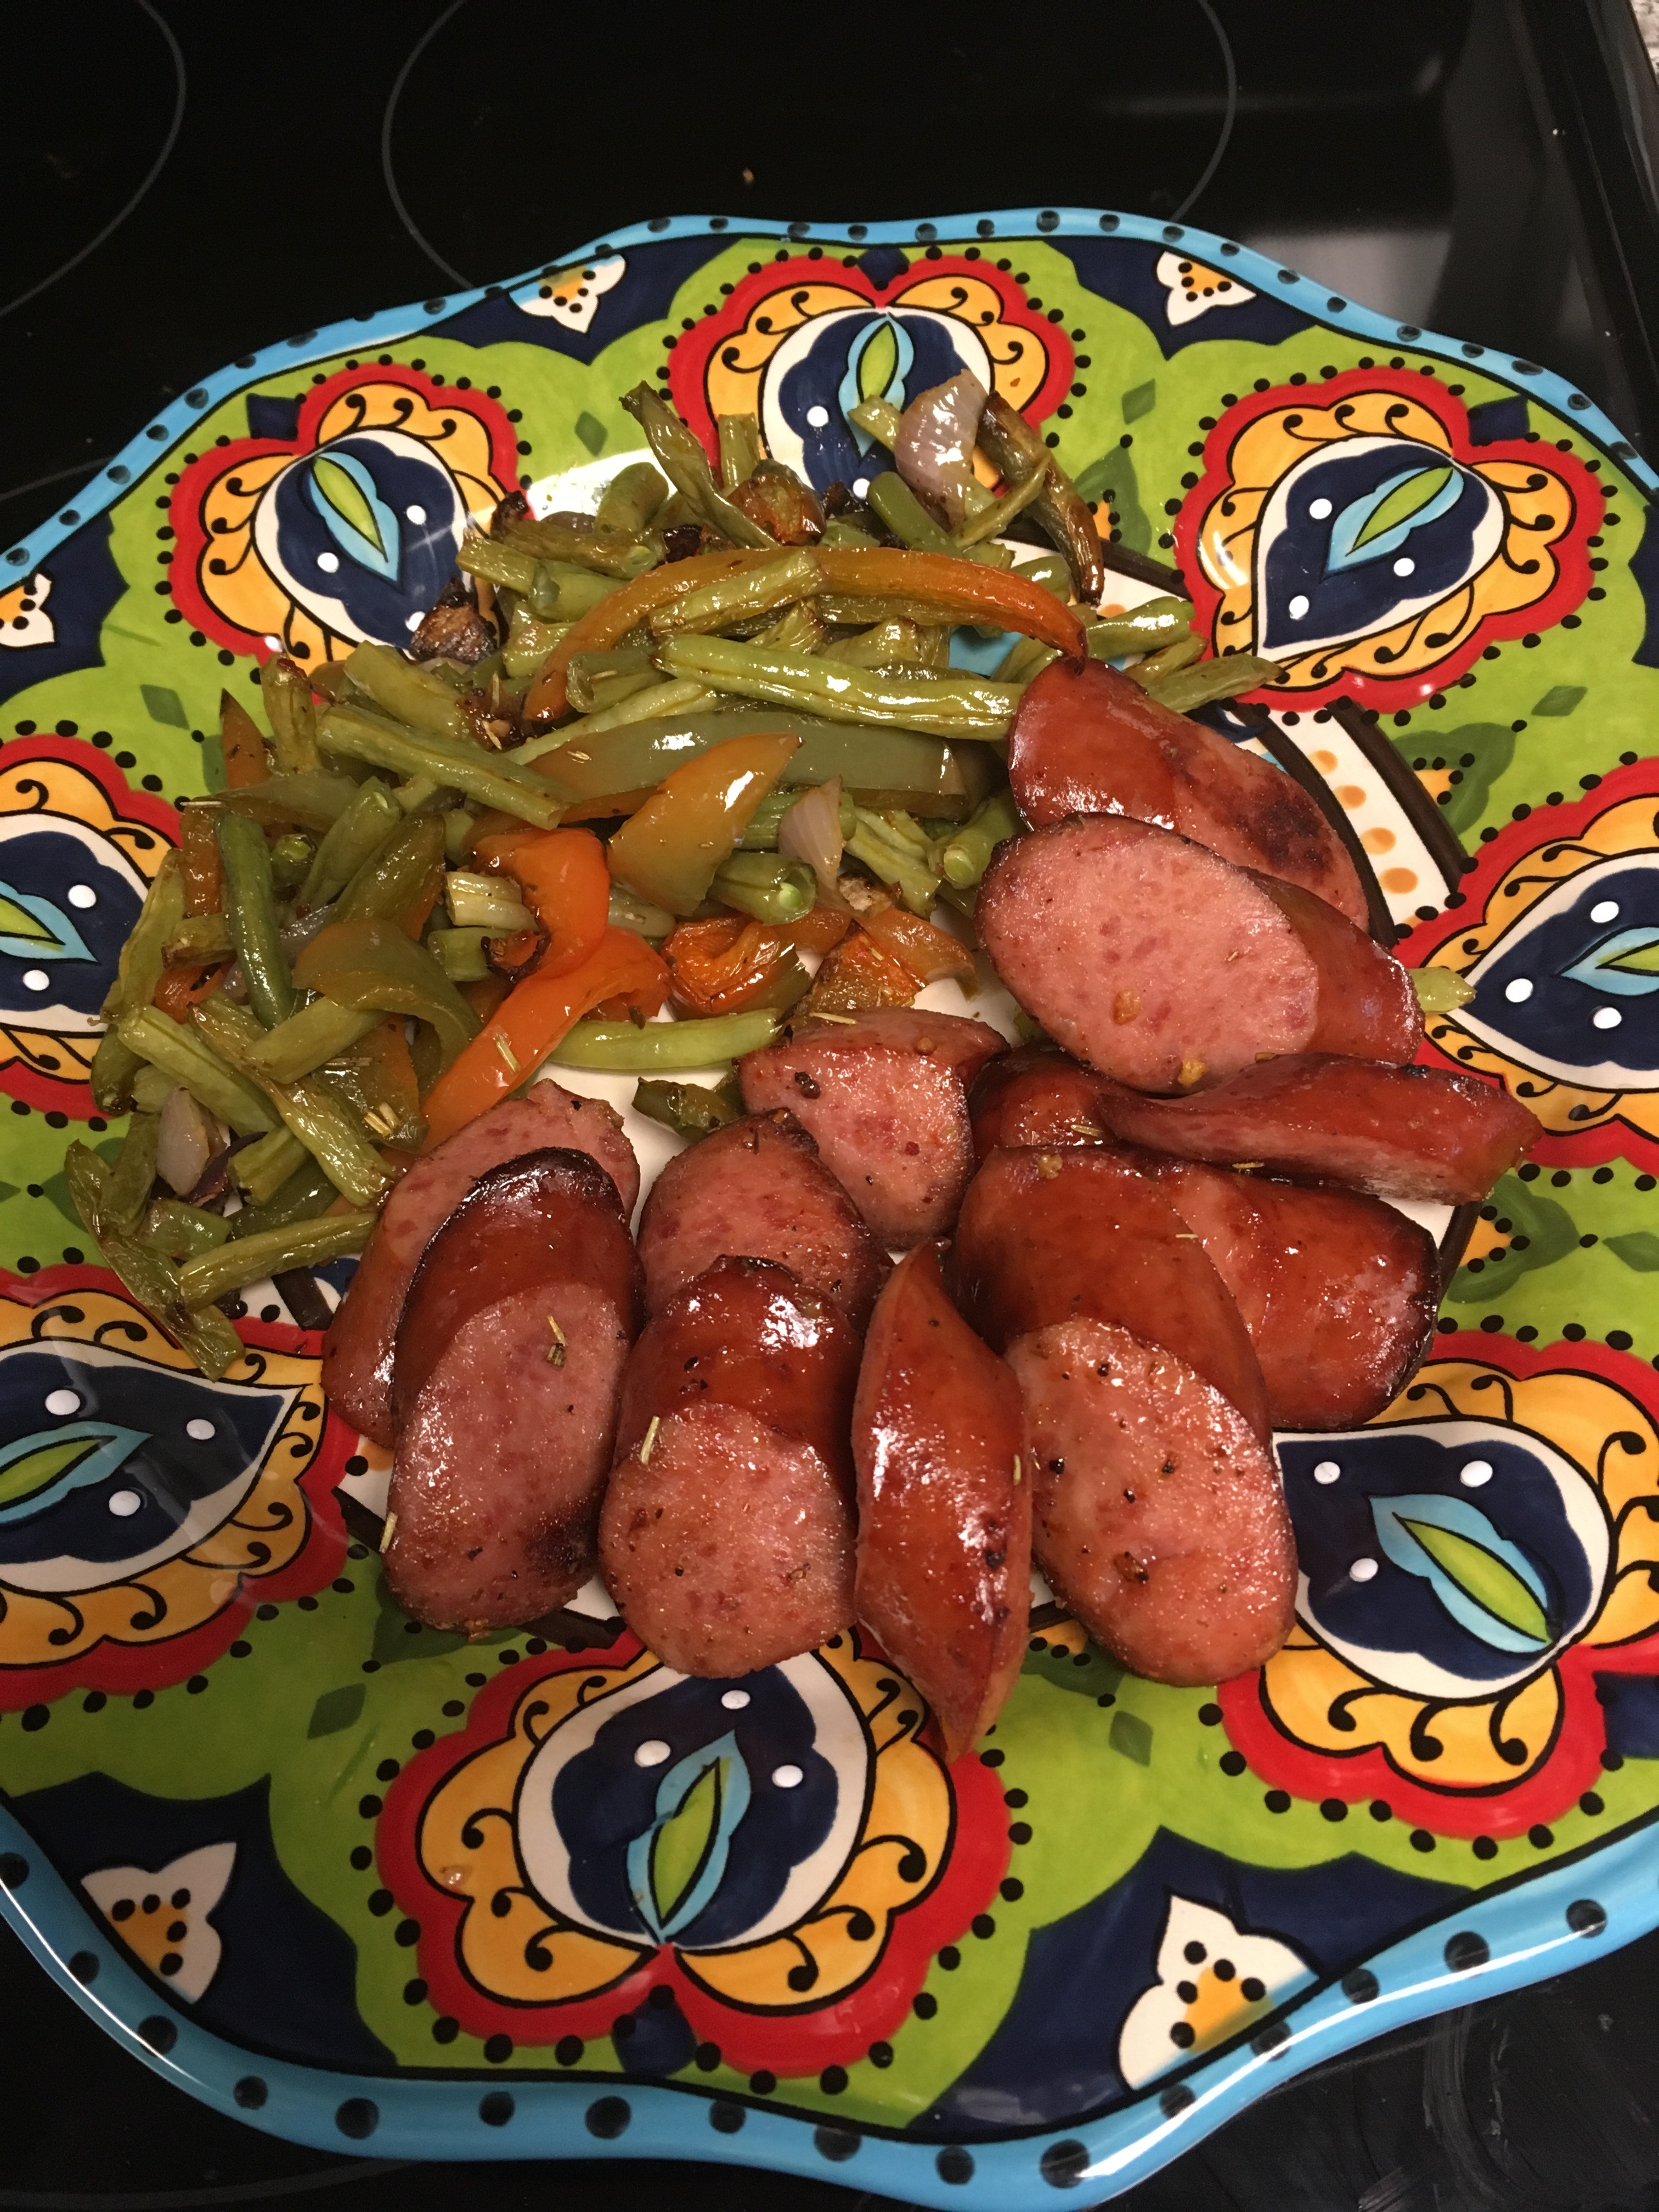
Ooh-la-la! Tres chic! Golden brown goodness!
This was my husband’s plate and while he was eating said, “This is delicious! I love that you grilled all this. I hope you’re putting THIS on your blog!”
A. Of course I am putting this on the blog. I’m not taking pictures of this food for my health!
B. These aren’t grilled 😂 Oven-cooked, baby, but I’ll take the compliment! (Everyone knows grilled food is the BEST!)
Seriously, do yourself and your family a favor and try this. If you can cut up veggies and sausage, you CAN make this! You got this!!!
What’s with me and all these casserole-looking dishes?! Oh wait, they’re quick and easy. Duh.
Hey, wait. This is “healthy” for a casserole! Go me!
Oh. My. Word. I freaking love buffalo shrimp and can’t wait to eat this!
If you had thought #4 in your head too, let’s go ahead and get “Best Friends” necklaces already. Anytime I see buffalo shrimp on the menu at a restaurant, I know what I’m getting and it’s obvious that you would too.
I’m not sure if anything is better than those spicy, tender morsels of buffalo goodness. Actually, if there is, I have two words for you, “prove it.” That’s what I thought….
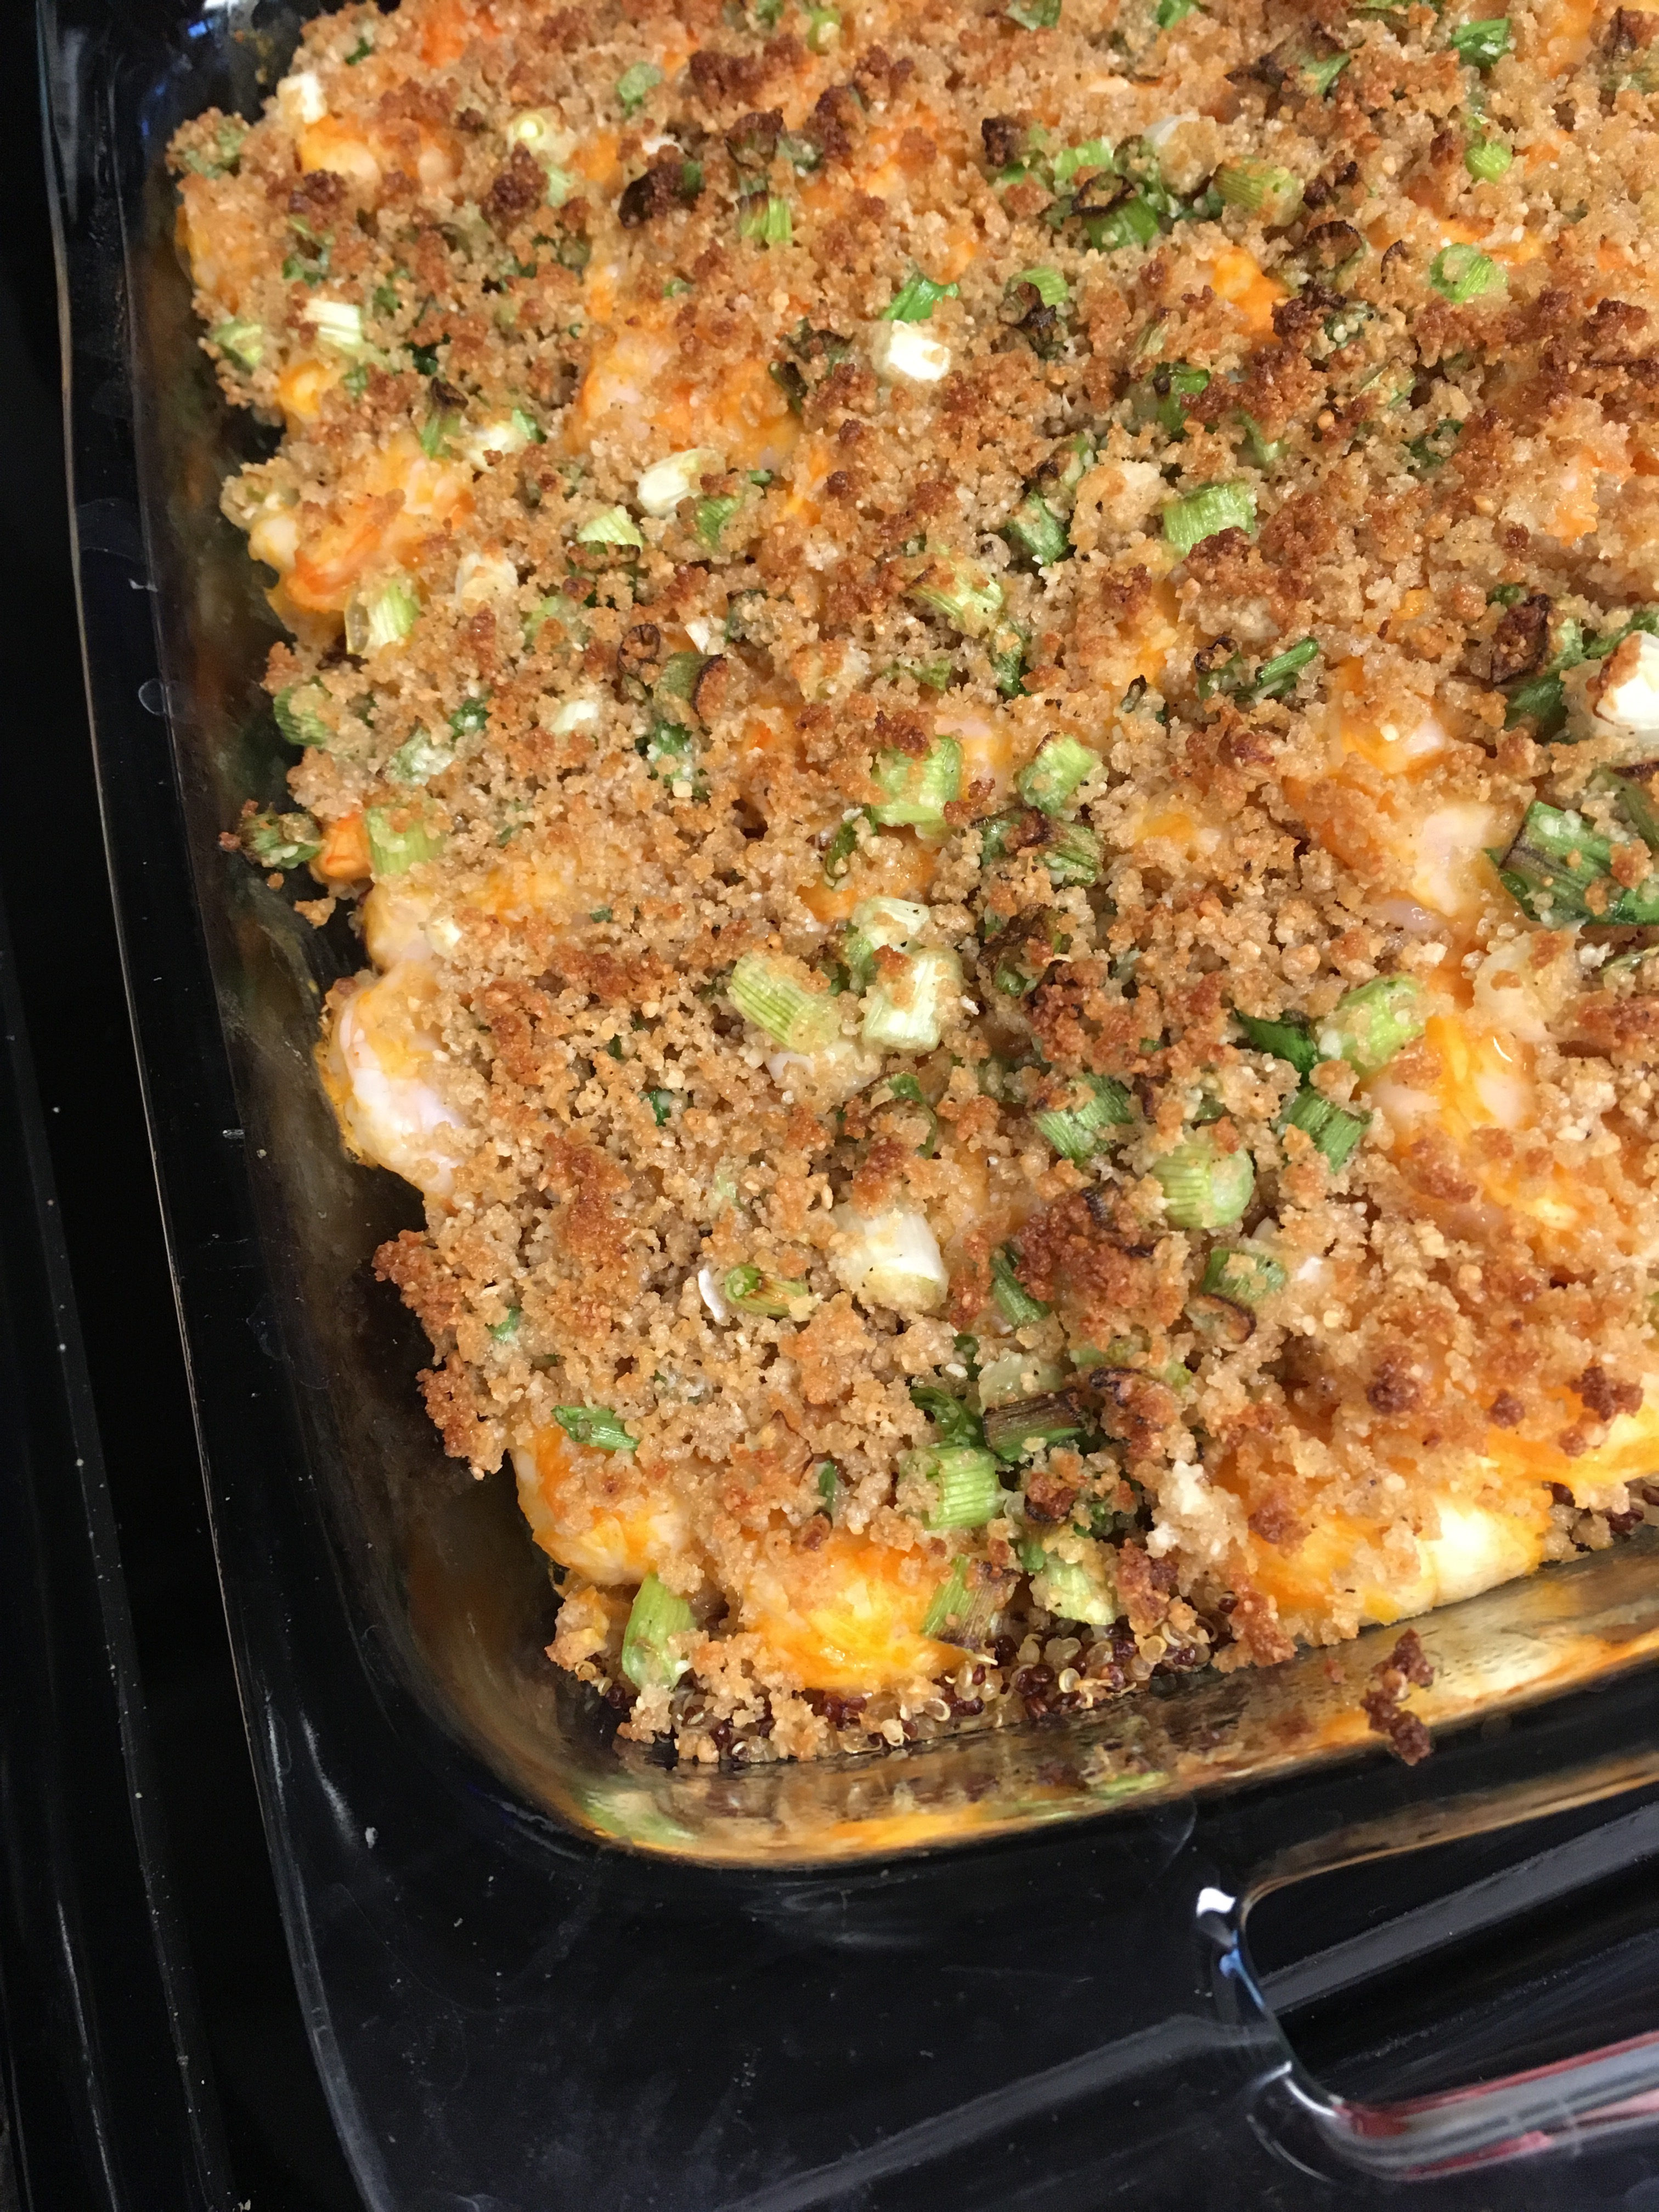
Check that hot stuff out! Owww owww!!!
I was scratching my head the other afternoon thinking, “Crap. We have no food in this house…” When in reality, I can barely open the freezerand pantry because they’re so jammed and our fridge is pretty well-stocked. Sound familiar? At this point, I knew it was time to get creative…. Alas (ok really like 15 seconds later), I came up with this recipe!
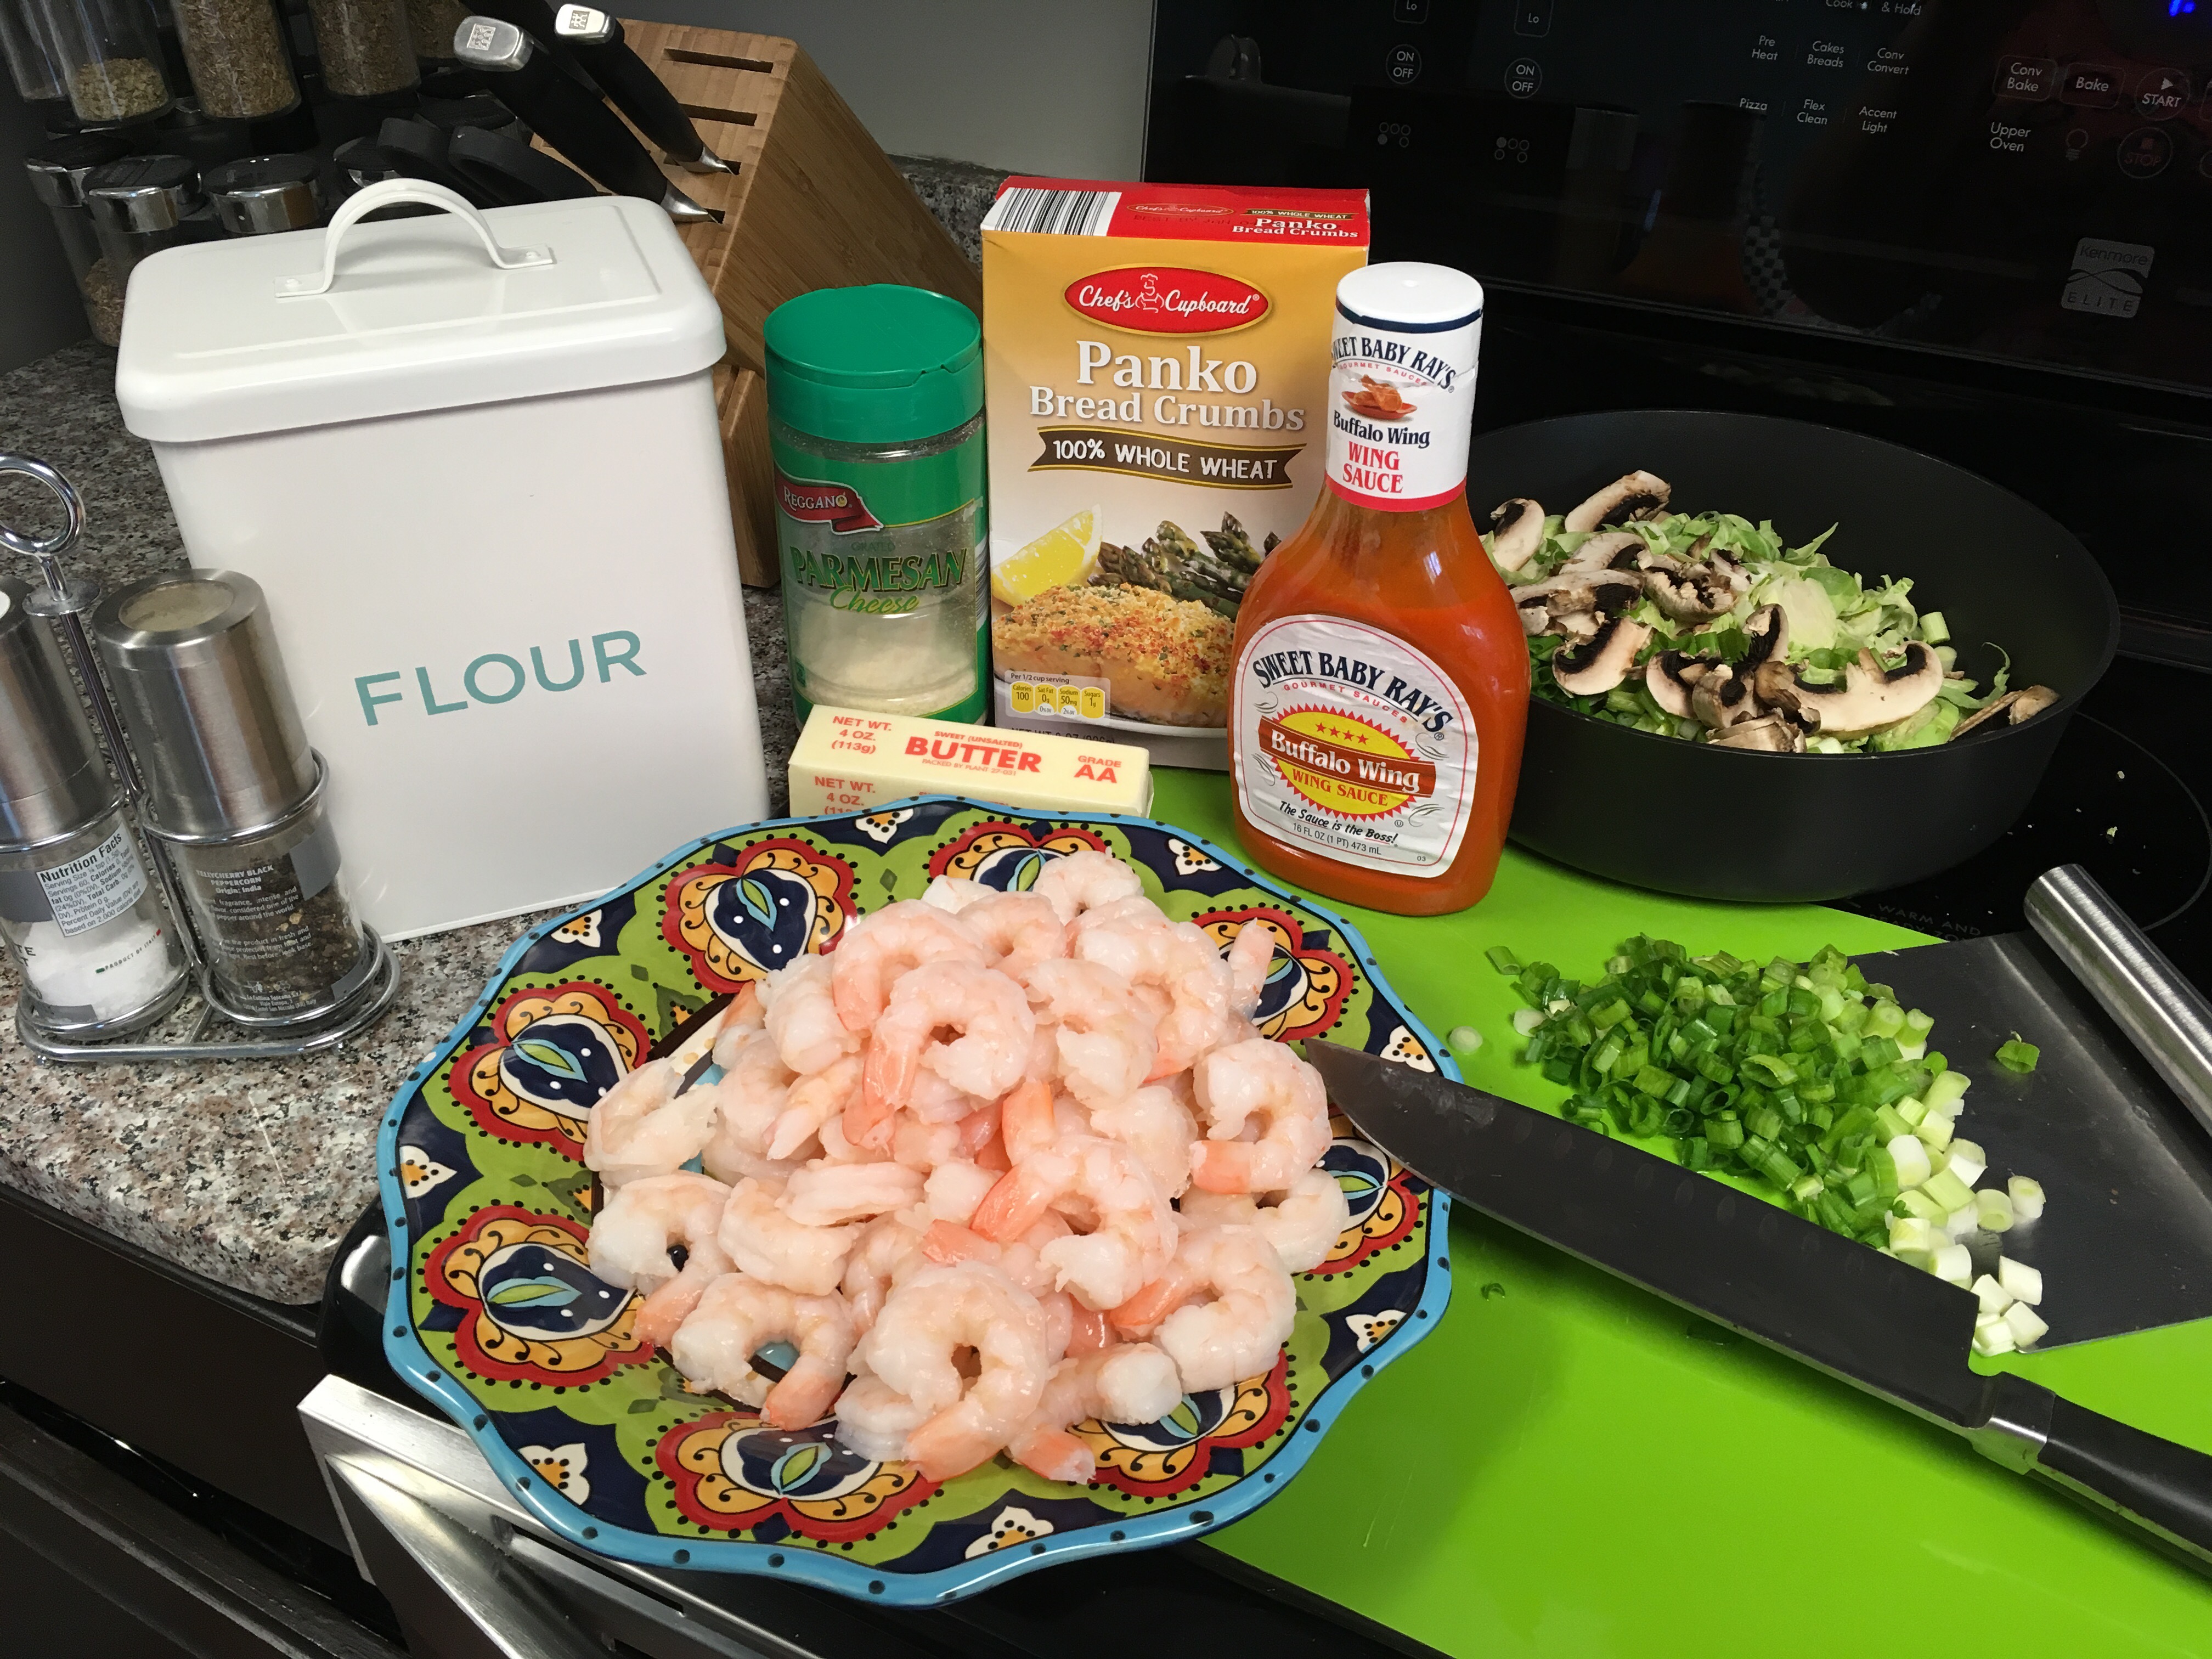
See that silver flat thing? I’m pretty sure it’s called a pasta cutter and you need it. I use it to pick up my cut veggies in one swoop! ***I’ve had this one about 4 years and got it at… wait for it… DOLLAR TREE! I’ll wait while you go grab one for yourself. Also pictured is the pan of my side dish- sautéed Brussel sprouts (I’m on a Brussel sprout kick!), green onion and mushrooms. It was too gorgeous to take out of the picture.
Buffalo Shrimp Quinoa Bake
1 cup dried Quinoa
2 lb. Shrimp – cooked and shelled (use less if you want!)
1/4 cup Buffalo Wing Sauce
Another 1/4 cup Buffalo Wing Sauce
1 cup (or more) shredded cheese (not pictured)
1 cup Panko bread crumbs
1/2 cup Parmesan “powder”
1/2 flour
Salt and pepper – be generous with the pepper
1/2 stick butter
4 green onions
Cook the Quinoa according to the package. Or if you’re like me and want to be a real quinoa rebel, cook it in your rice cooker! 1 cup dry Quinoa (rinsed or not – I rarely rinse.) and 2 cups liquid. I used chicken broth for this recipe but you can use water or any broth! Cook it on your “Brown Rice” setting. Once cooked, set aside.
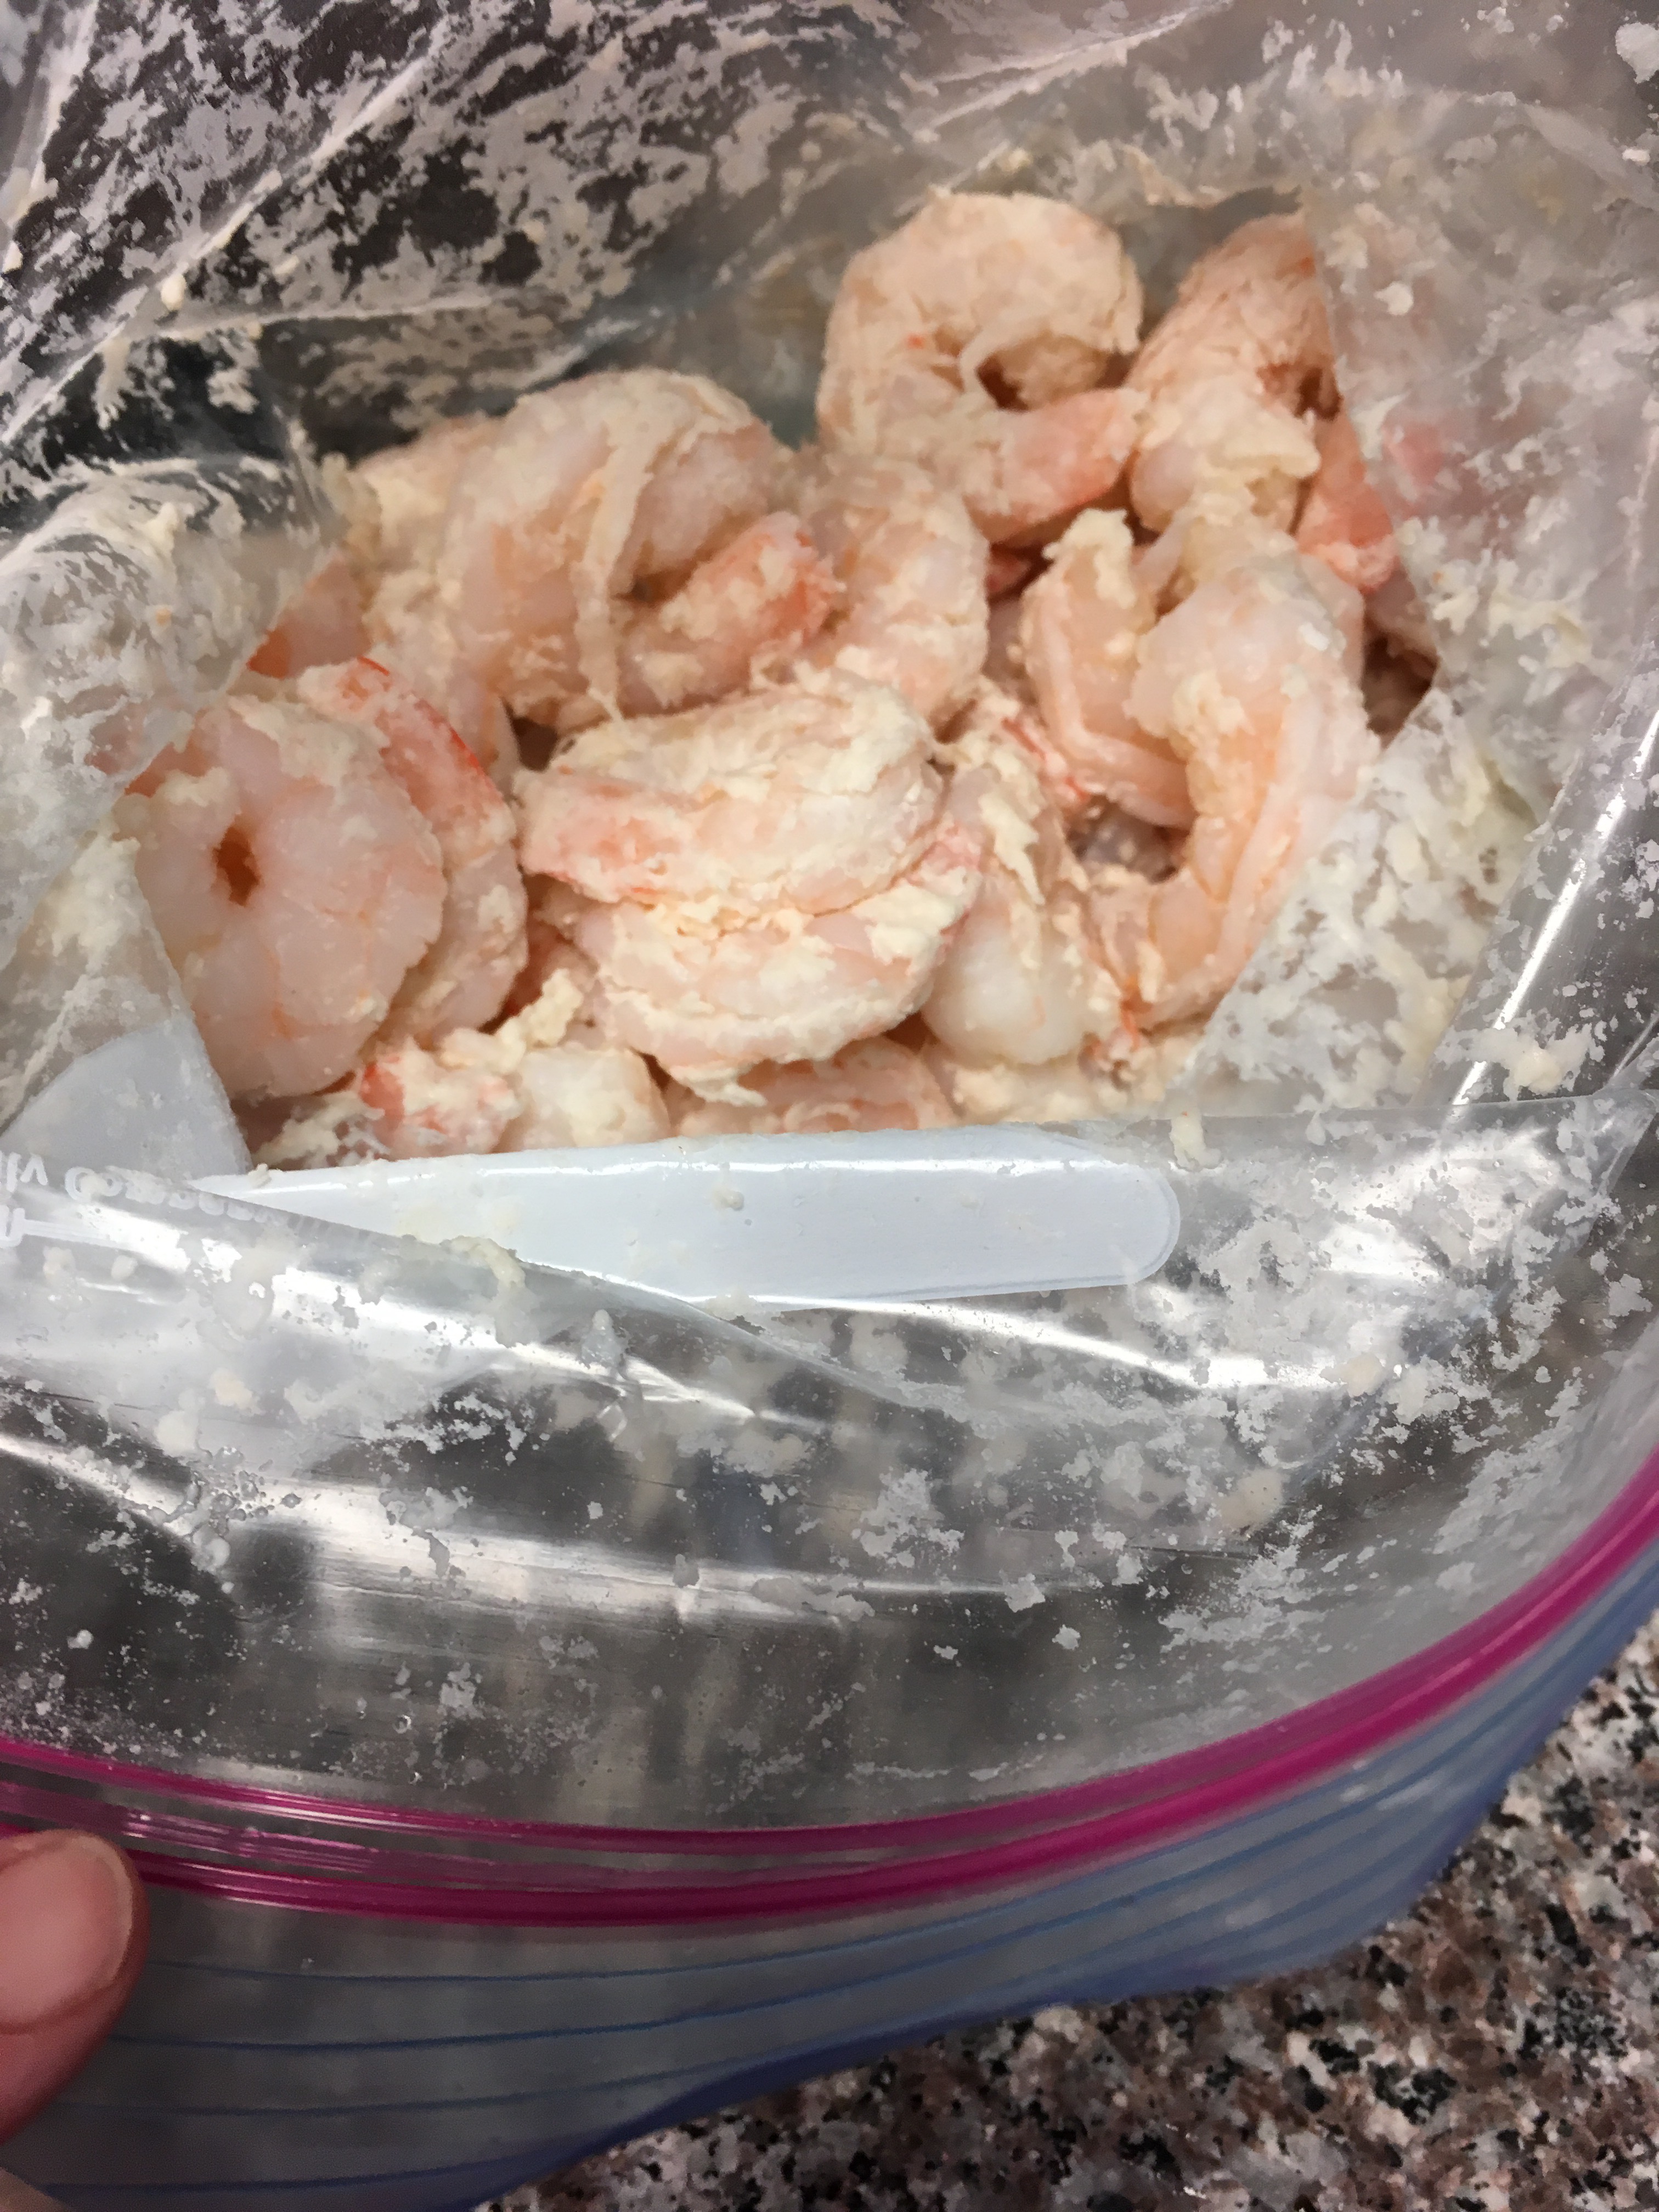
Take the 1/2 cup flour and put it and the shrimp into a ziplock bag. Squish it all around until the shrimp is coated with flour.
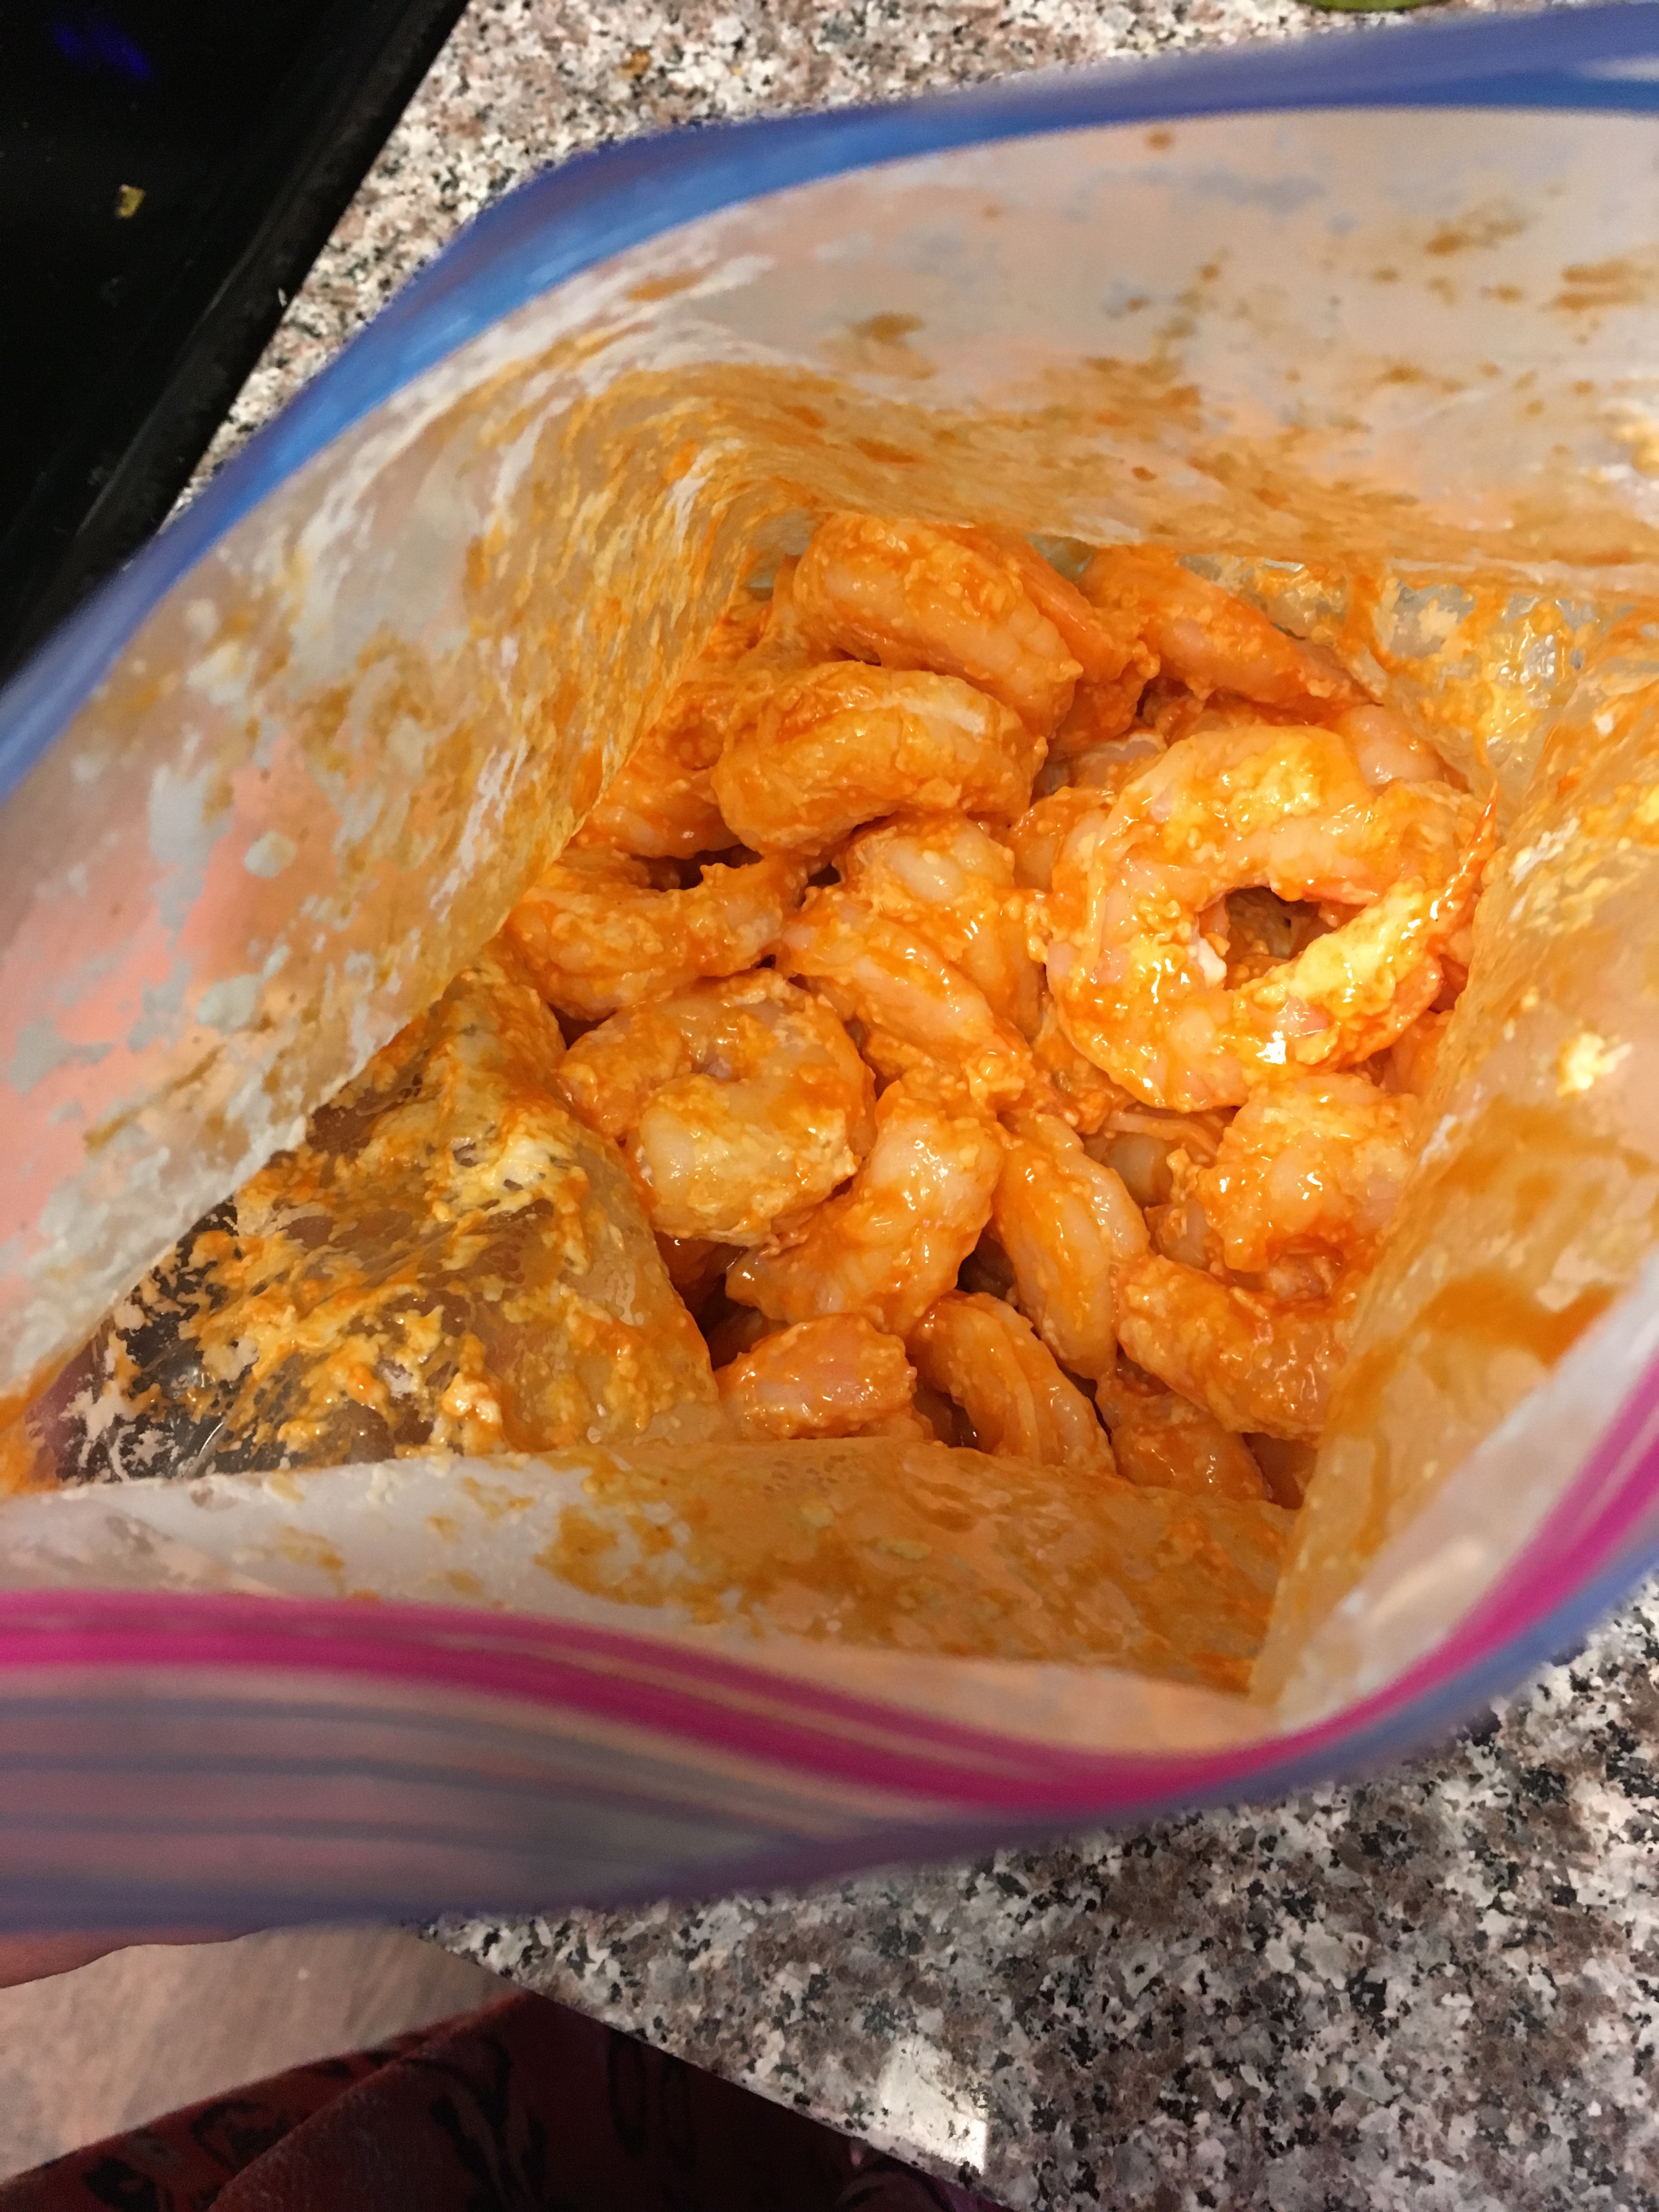
Next, add 1/4 cup of buffalo sauce to the bag of floured shrimp. “Shake. Shake. Shake, Senora!” til everything is coated again with that heavenly sauce. Put the bag in the fridge until it’s time to assemble.
Breadcrumb topping time: Melt the butter in the microwave. Mix the melted butter, breadcrumbs, Parmesan, green onions, salt and pepper in a bowl. The breadcrumbs will be wet-looking and that’s the whole point.
Assembly time!!! In a greased 9×13 pan, layer the quinoa, 1/4 cup buffalo sauce (if this looks like too much or too little, use as much as you think will be heat-ceptable) and the shredded cheese. Give it all a good stir then pat it flat in the pan.
Get that deliciously-marinating bag of shrimp out of the fridge and layer them over the quinoa.
Lastly, add the breadcrumb topping evenly over the top.
Bake at 400 for 15 minutes. (My oven cooks quick though. You may need an additional 5 minutes or so.)
Let cool and tear this baby up!
We added blue cheese crumbles to it because we are fancy.
P.S. if I wasn’t taking pictures of this and cooked at the speed of which I normally cook, this would e on the table in 30 minutes which includes cooking time! The only thing that will slow you down is cooking quinoa. If you have some premade in your freezer (of course I do 😂), this meal comes together lickety-split!
I was talking to my girlfriend, Abby, about this recipe and said, “And just like that, I saw that Jim and I had eaten 1/2 the pan already…” whoops! But seriously folks… it’s easy to eat a ton of quinoa, right? (Looks around nervously…)
As with all/most of my recipes, you can sub the shrimp for chicken, tofu, cauliflower, etc. It’s your world; I’m just in it! Actually… I have a cube of tofu (is that the official name of it?) in my fridge that I’m going to make with this recipe. I’ll let ya know how it goes!
Howdy, Partner… (removes hat and tips it towards you.) Let’s take ourselves a little trip through the Southwest. Listen to the wind whipping through your hair. Check out that tumbleweed… (wait that’s a real thing?!) “Watchout for those man-eating jackrabbits and those killer cacti!” – $10 to the first person who knows what 90’s show this is from!!! (I’m serious too…2 rules: “follow” my blog via email and leave your answer in the comment section on the blog website!!)
When in the wild, Wild West, it’s customary to eat chicken enchiladas and cowboy caviar, right? It’s called COWBOY caviar for goodness sake! So put your hat and boots by the door and let’s dig in! Oh also can you leave your spurs outside? My child is nosey and we don’t need a trip to the emergency room today. ¡Muchas gracias!
This looks like a lot of ingredients but some of them are used in both recipes!! Chicken Enchiladas
You’ll want to start the chicken in the morning before you leave for work in the crockpot and finish it when you get home!
(1) 3 lb. bag of frozen chicken breast
1 large can of enchilada sauce (I used green but use red if you prefer!)
6 mini-peppers, cut into thick strips (think Fajita-style)
1 onion, cut into thick strips just like the peppers
12 corn tortillas
1 bag Shredded cheese
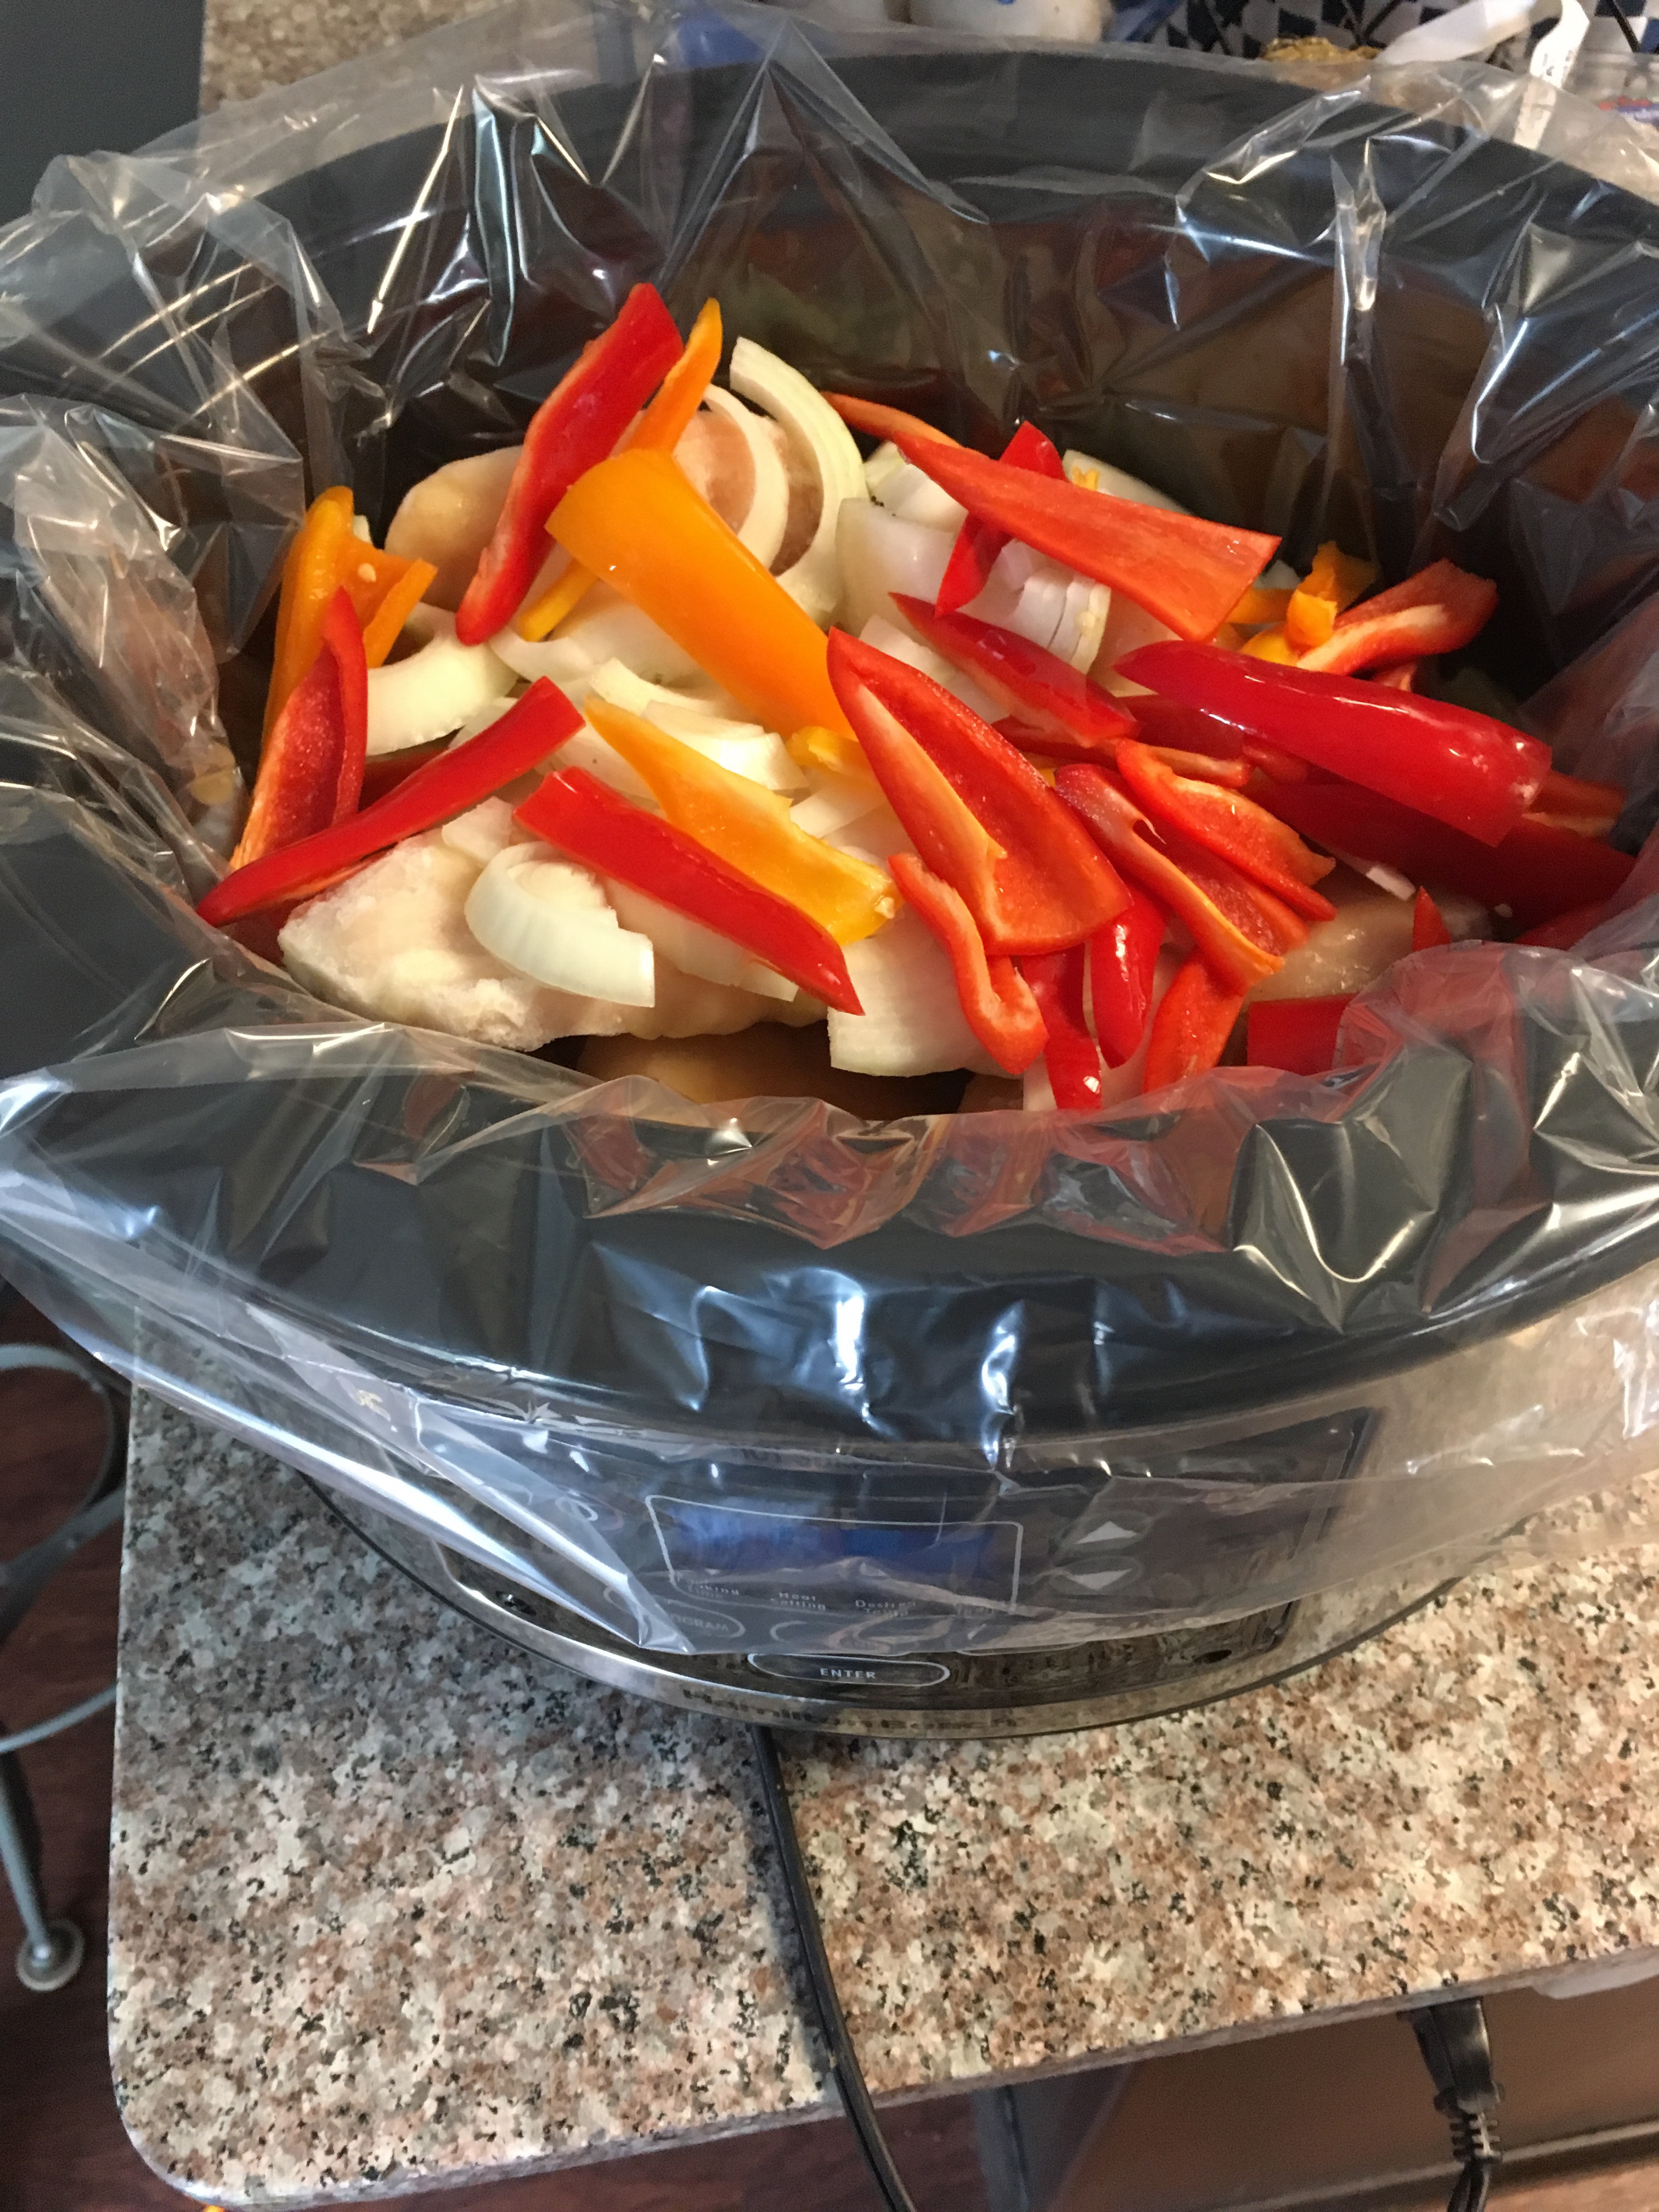
I know I’ve said it a million times, but USE A CROCKPOT LINER!!!
Put everything but the corn tortillas and cheese in the crockpot on LOW for 7-8 hours. When that happy timer goes off, shred that chicken up! It’s so easy- just use a fork and mix it up in the crockpot. It will be tender enough to do. I promise!
Once the chicken is cooked, it comes together really quickly! Tong (new verb) those corn tortillas and dip them into the crockpot liquid/chicken mixture. Corn tortillas are hard to work with. I’ve tried heating them before dipping them and it doesn’t matter- these puppies break🙄. Don’t get discouraged. Everyone knows they’re lame.
Roll some chicken mixture and a heavy sprinkle of shredded cheese into the pre-saturated corn tortillas. Continue this until you have a full 9×13 pan. ***If you’re feeling extra lazy (which I do often when making this), layer the ingredients lasagna-style! It comes out the same and really is easier.
Cover the Enchiladas with the rest of the shredded cheese and bake at 400 for 15-20 minutes. When it’s nice and brown and toasty and heavenly, it’s done!
Let the Enchiladas rest for about 10 minutes before digging in!
Come and get it!!!
If this isn’t delicious enough, let’s add some black bean salsa to this and throw down! I’ve made this Cowboy Caviar countless times and am always asked for the recipe. My response is always, “There isn’t a recipe. I just throw stuff in the bowl.” So I finally took the time to figure out (or get reallllyyyy close) to a consistent recipe to share!
Oh hey, you beautiful, big, full bowl of salsa! Most of you little kernels and beans won’t even make it into the fridge!😜 Cowboy Caviar (Corn and Black Bean Salsa)
1 bag frozen corn
1 can black beans, drained and rinsed
1 beefsteak tomato or a handful of grape tomatoes, diced
1/4 medium onion, diced
1 red pepper, diced
1/2 bunch cilantro, chopped
Roughly 5 heavy shakes Jalapeño Tabasco – the green bottle (I promise it’s not spicy!!! It’s more vinegary and tangy!)
1/4 cup white vinegar
1/2 cup canola oil
Juice of 1/2 lime
1 teaspoon sugar
Salt and pepper, as needed
Jalapeño, diced (optional)
Mix all of this in a bowl. If you want it spicier, add more jalapeños. If you want it sweeter, add more sugar. If you want it tangier, add more Tabasco or lime juice. Basically play with it til you taste it and want to run to your neighbor’s house and have them taste it too!
Serve it with tortilla chips, tacos, rice, pasta, or, of course, on the chicken enchiladas!
Tah-dah! The finished product! Also, can these plates be any cuter?!?
I hope you make one or both of these and LOVE them as much as my family does!
Being Polish, I love ANYTHING pickled – sauerkraut, radishes, green beans, asparagus, onions, tomatoes, mushrooms, eggs, and, yes, even pig’s feet. (The hint that something ‘gross’ was coming was when I put the word ‘anything’ in all caps. “The more you know! 💫”)
This pickle dip is reaching out to a specific niche (i.e. Pickle lovers such as Snooki) and I know that a lot of people will be green in the face reading it, but I just HAD to share this!
Fighting the battle of the bulge on the daily means I like to find food whether we are talking snacks, entrees, desserts, or just a quick lunch, I try my hardest to have something healthy-ish. (Sidenote: for Lent this year I gave up pizza… if Easter doesn’t come quick, I will have to be locked in a padded room. I miss it terribly!!!) ->see… this is why I say “try” to be healthy. I am obsessed with pizza….🙄
So since I was looking for “healthy” and crunchy and snacky and creamy, I came up with this little ditty and it did NOT disappoint!
These little pickles are unreal. Of course they are a “special buy” at Aldi so they won’t be around long. (Pay no attention to the woman with the cart full of pickles…) Pickle Dip
10 mini pickles, chopped into itsy-bitsy pieces
1/4th cup of plain Greek yogurt
Salt and pepper to taste
Mix it all together. (It’s stupid that this is so simple…)
Serve with something crunchy!
These are Aldi’s Veggie Chips and this combo was a flavor explosion in my mouth!
I know Greek Yogurt sounds iffy so if you aren’t feeling it, use sour cream! But if you are questioning the Greek yogurt at all and think, “hmm… that seems interesting,” I urge you to give it awhirl. Have I steered you wrong yet?? No. No. I haven’t. I mix ranch packets with Greek yogurt and dip veggies in it all the time!
Full disclosure: This container of dip was gone in 5 minutes 😬 I LOVED it so much more than I thought I would!! I hope you try it and like it!
You may kill me. And I’m sorry in advance for what is going to come out of my mouth. I made homemade gnocchi. I know my recipes are usually quick and perfect for that last minute/”oh crap what do I have in the fridge”/”ugh I have to cook dinner” meal but… I had to try making it from scratch (because I love to torture and annoy myself to ‘see’ if I can make it myself 🙄).
Stop. The. Presses. Homemade gnocchi are the bees’ freaking knees. When I buy them in the store, I really just havent mastered cooking them all the way through without the outside being mushy and the inside being hard. I make pierogis from scratch and that’s a dough product but I wanted simpler and don’t want to use potato like the usual gnocchi are made of (ugh… ending the sentence in a preposition about kills me…). Hear me out.
If you don’t want to make your own pasta (which I totally get not wanting to do), skip to the Olive Oil and Shrimp Sauce at the bottom. You do NOT want to miss this!
Homemade Gnocchi
1 container Ricotta Cheese
1 container flour
Flip the ricotta out on your work surface. It will stay in its shape (which is gross but whatever).
Use that SAME ricotta container and fill it with flour. Dump the flour onto your work surface. Make a well in the flour and put that ricotta in it.
Knead the crap out of it for about 5-10 minutes. This dough is sticky so putting flour on your hands before you dive in is a good idea. When the dough is dense but soft (you’ll know it when you get there), the dough is ready.
Cut off pieces and roll them into logs.
Cut them into small bite size pieces.
Here is where the fun happens…. take those little bite-size pieces and roll them around your first 2 fingers. The whole idea is that you are making a cave, valley, gulley, etc. that sauce will get all up in. (If you look closely, mine look like pig snouts 🐽. It may not look great now, but after they cook, they will look fine!) Make sure you keep them floured! They will stick on the edges where you cut them!
Boil those suckers in salted boiling water. When they float to the top, I give them an extra minute or two then take them out!
I realize it sounds like a lot, but it’s totally doable!!! The most annoying part? Clean-up.
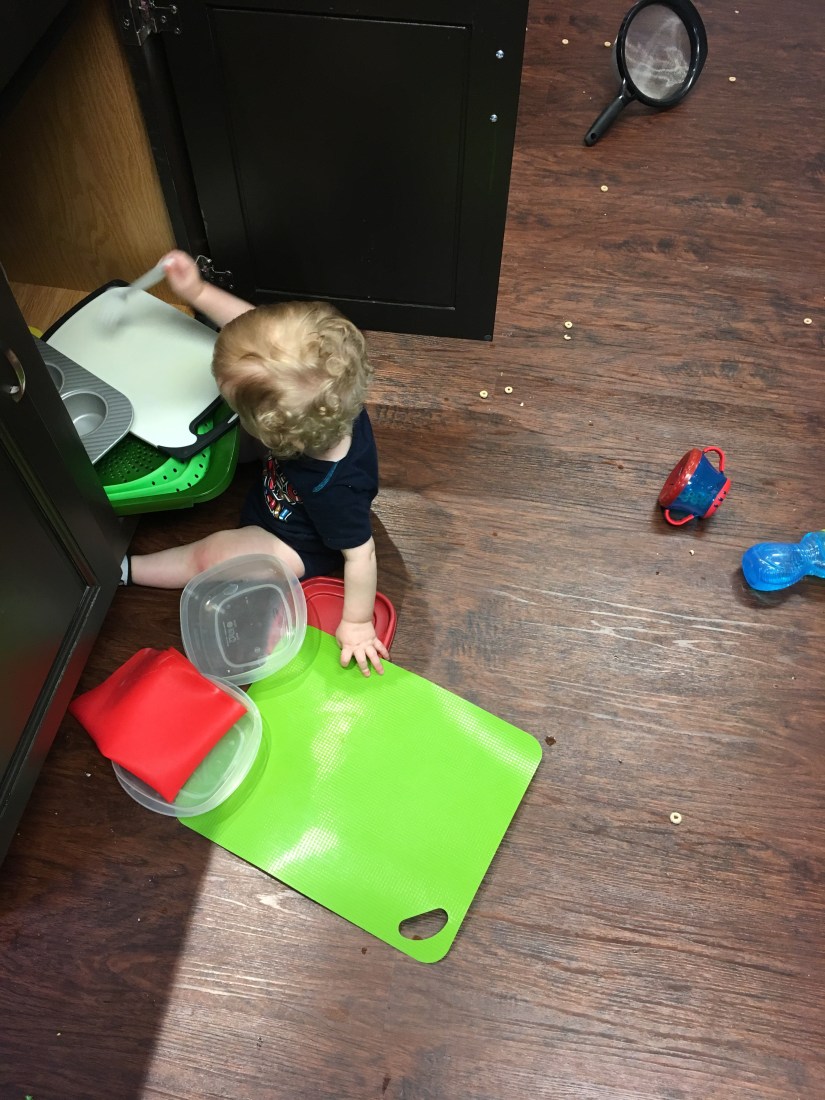
While mama was making pasta, Little Man thought it was the perfect opportunity to “reorganize” the cabinets and “decorate” the floor with Cheerios!
Olive Oil and Shrimp Sauce
You will love this. I guarantee it or your money back.
Notice that I’m turning into the Pioneer Woman…. I’m growing veggies on a chair in the back.
1-2 lbs. Shrimp – cleaned and deveined (This is cooked shrimp but if you have raw shrimp, use it! Doing so will increase the cooking time by about 2 minutes – big whoop.)
1/2 cup-ish Olive Oil – this is the “sauce” so be generous
1/2 stick of butter (not pictured)
1/2 lemon
4 small cloves of garlic (If you love garlic, add more! If not, add less. It’s YOUR recipe!)
Any veggies your little heart desires! I used onion, mushroom, tomato and broccoli. Get creative! Asparagus? Sure! Capers? Why not? Cauliflower? Yep. Do it!
Salt and pepper to taste
Cooked Gnocchi, pasta, rice, etc.
Saute olive oil, butter, and garlic until you smell that heavenly aroma. Don’t burn it!!!! (I’m really good at burning garlic. Actually, with an electric stove, I’m really good at burning anything… lol!)
Add your veggies in order of cooking time. I like my broccoli al denteso I added that last. (Al dente is a fancy word meaning cooked but still has a slight crunch. If memory serves me correct, I think it means ‘to the tooth,’ but let’s not get crazy and blame me if you get that question wrong on Jeopardy.)
Next add the shrimp, gnocchi/cooked pasta, salt and pepper and lemon juice to taste.
Cover and let it saute and steam for about 5-10 minutes. It doesn’t take long for the flavors to come together and for that shrimp to cook. If you want to cook it longer, go ahead! (Again, this is YOUR recipe!)
If you don’t make your own homemade pasta, you can get all this going while the water boils to make your box of pasta, rice, etc! Overall this sauce is about a 15 minute deal and that includes chopping.
Speaking of chopping, I have a few pro-tips and time-savers for you!
Pro-tip #1- Use your egg slicer to cut mushrooms. Cut the stems off, flip them upside down, and slice! Heyyyy, time-saver!
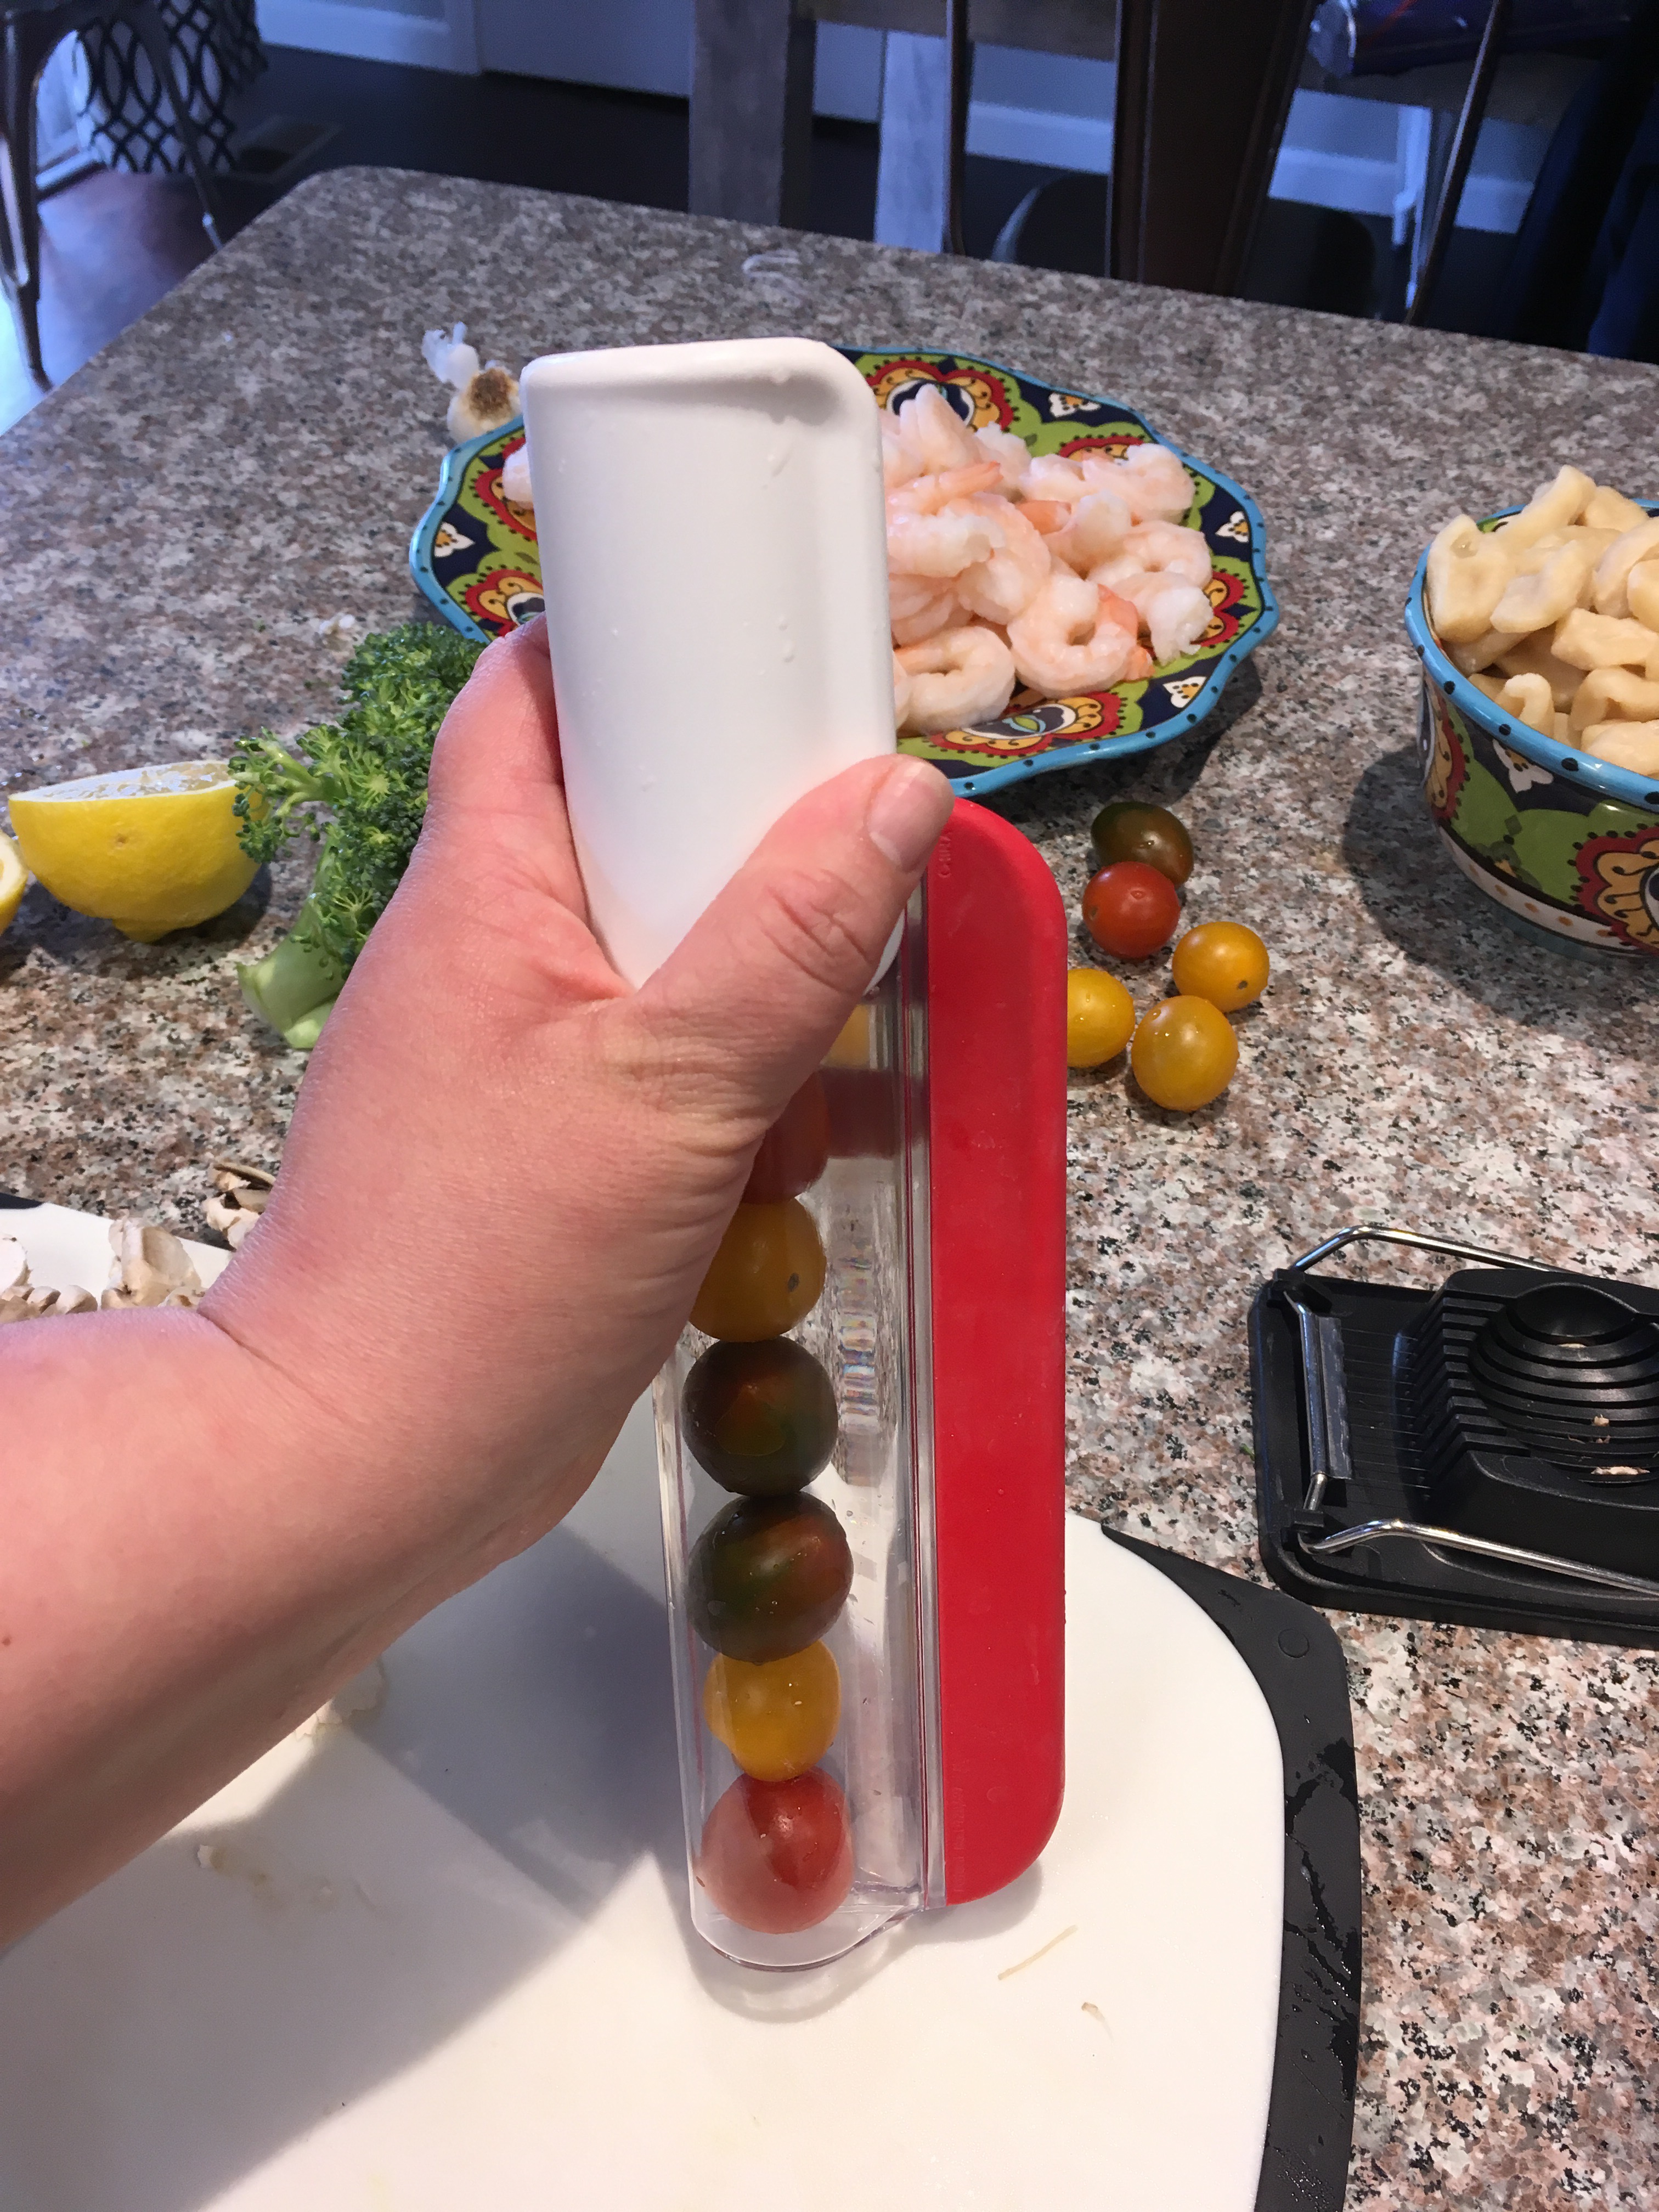
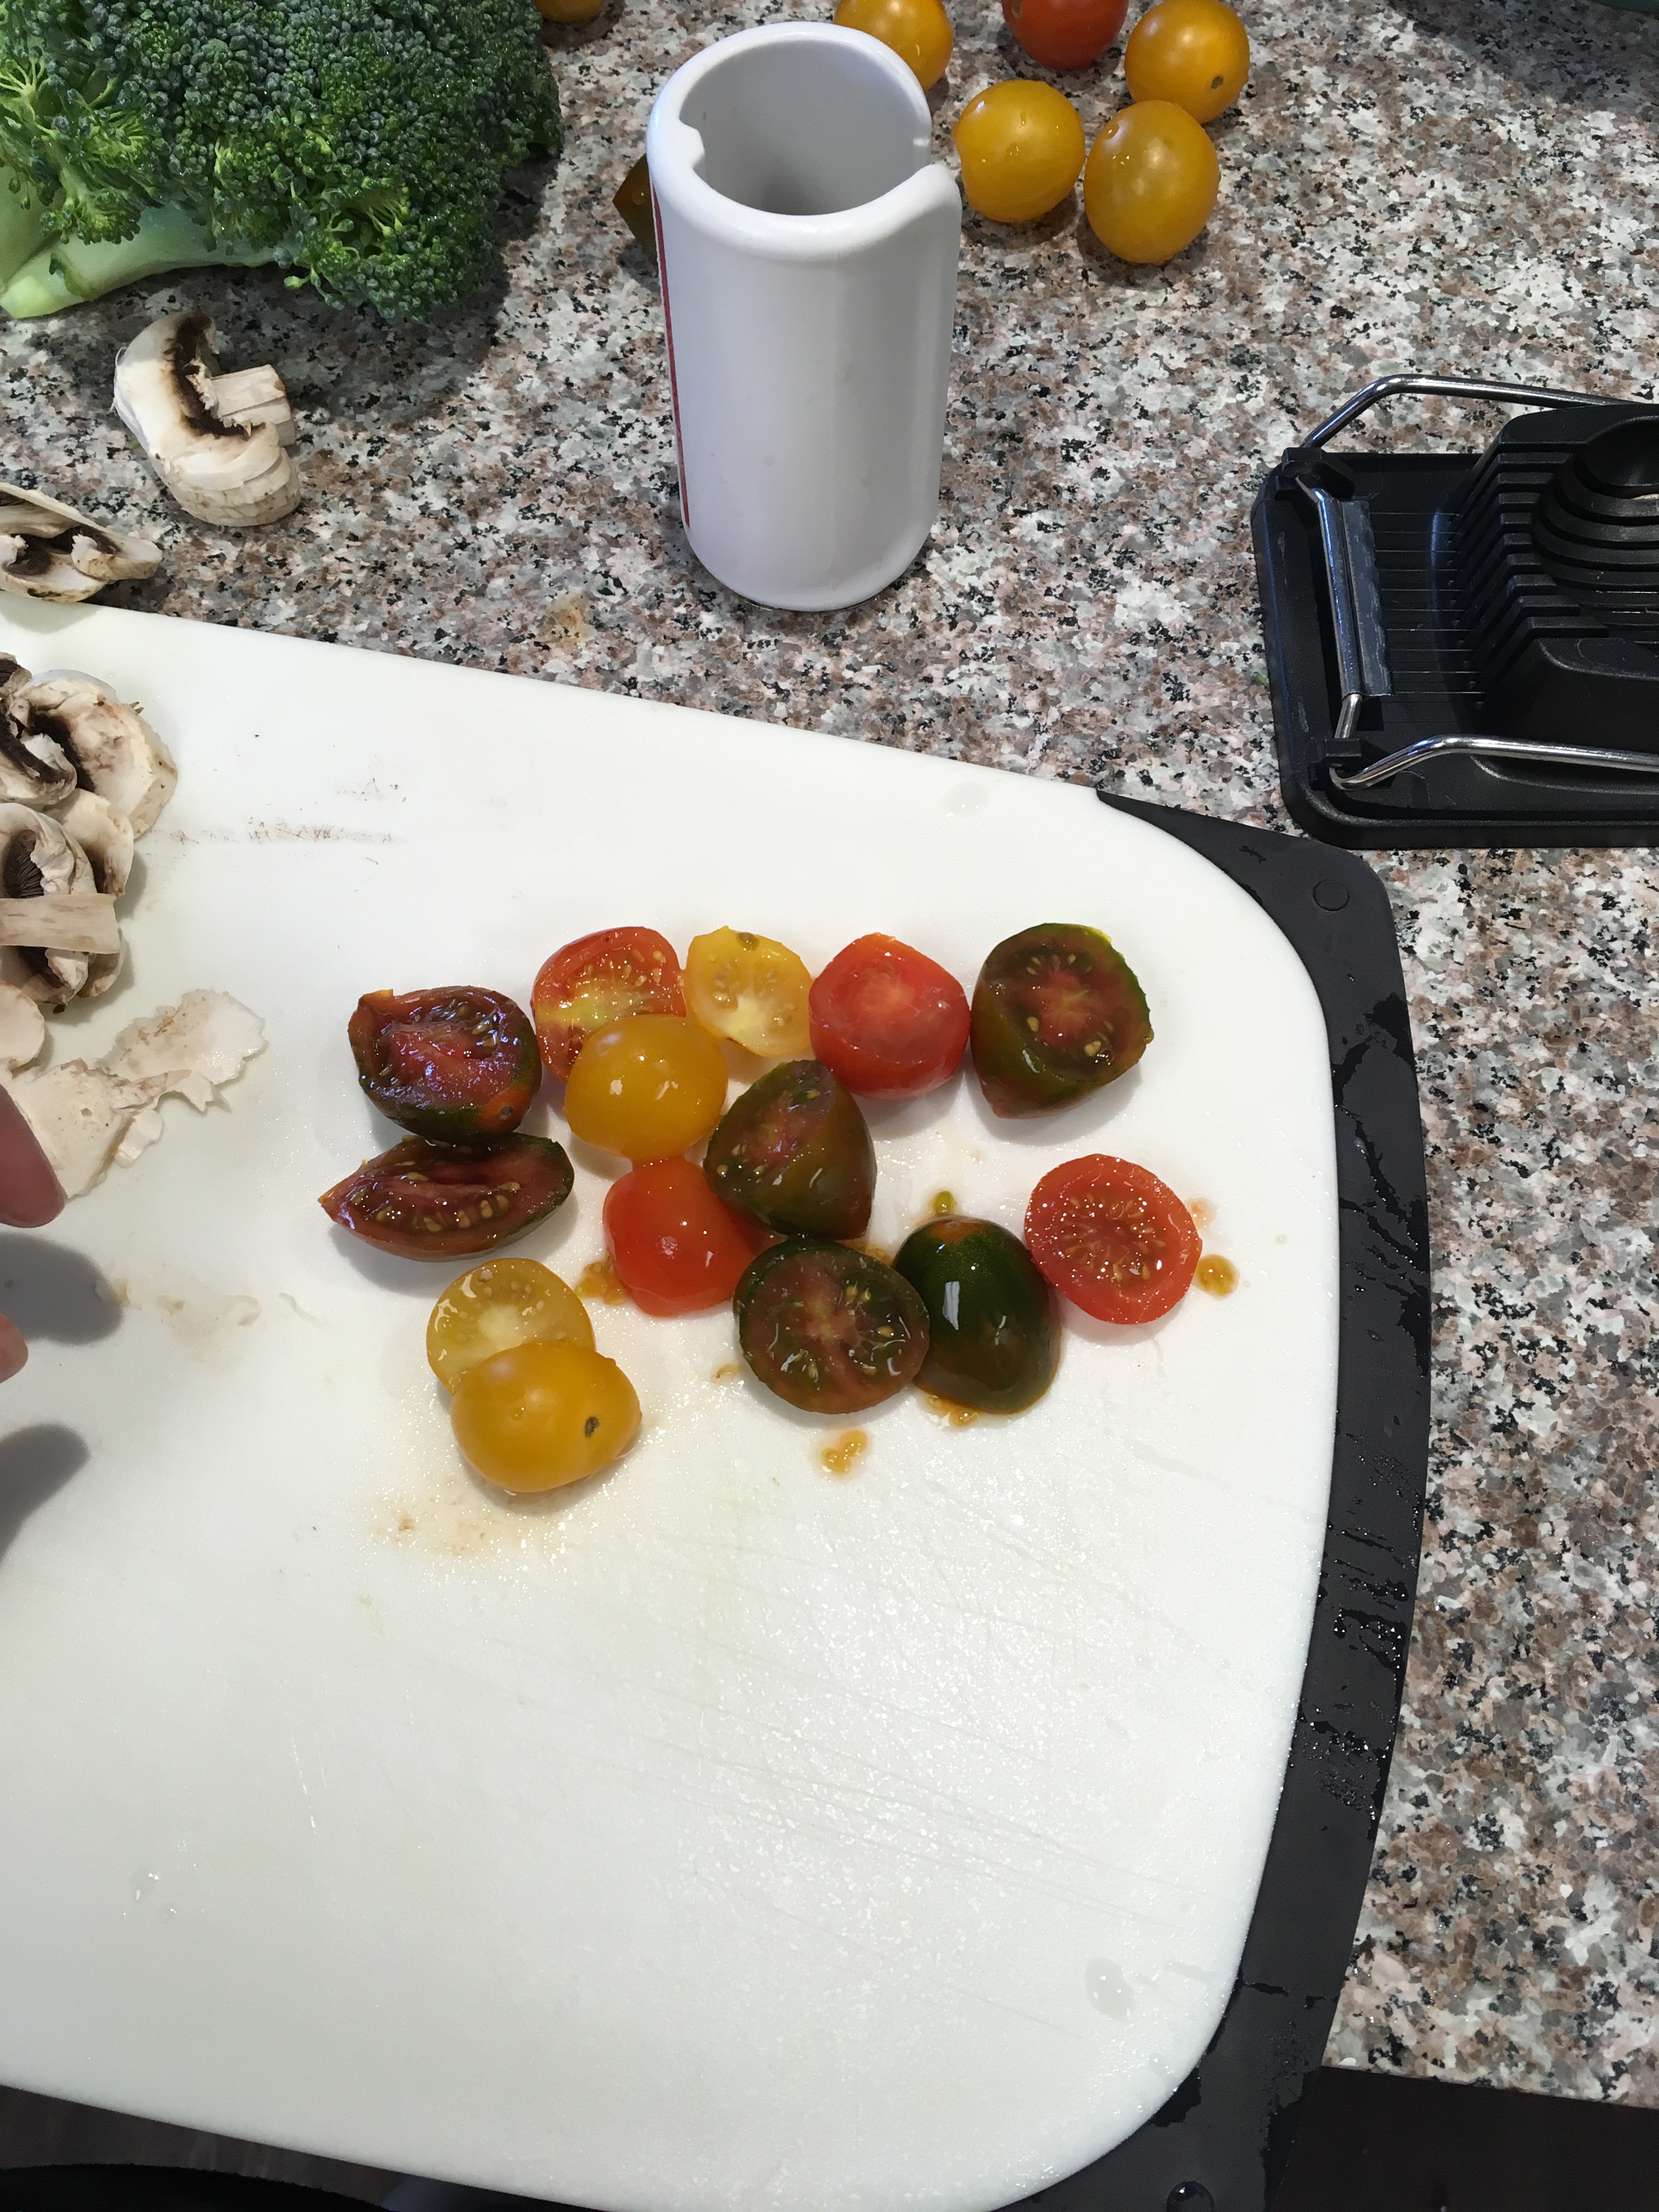
Pro-tip #2- Buy this tomato slicer pictured. I found this one on Zulily and makes the annoying job of slicing cherry or grape tomatoes actually FUN! Throw them in the tube and zip the handle down! The handle has a blade in it that slices ’em right up!
They aren’t even, but who the hell cares? Not me! Bon appetit!
Hopefully I’ve inspired you to want to make this amazing gnocchi. Kids will love to get their hands in the dough and will not know they are actually working😂 so include them in the fun! (Or ignore them and let them “clean” your kitchen… lol)
Again, if you don’t want to make the pasta, PLEASE DO YOURSELF A FAVOR AND MAKE THIS EASY SAUCE!!! You won’t regret it!